Sovereignty Module: Coat the Wall
Complete Clay Plaster and Lime Render: From Earth to Finish
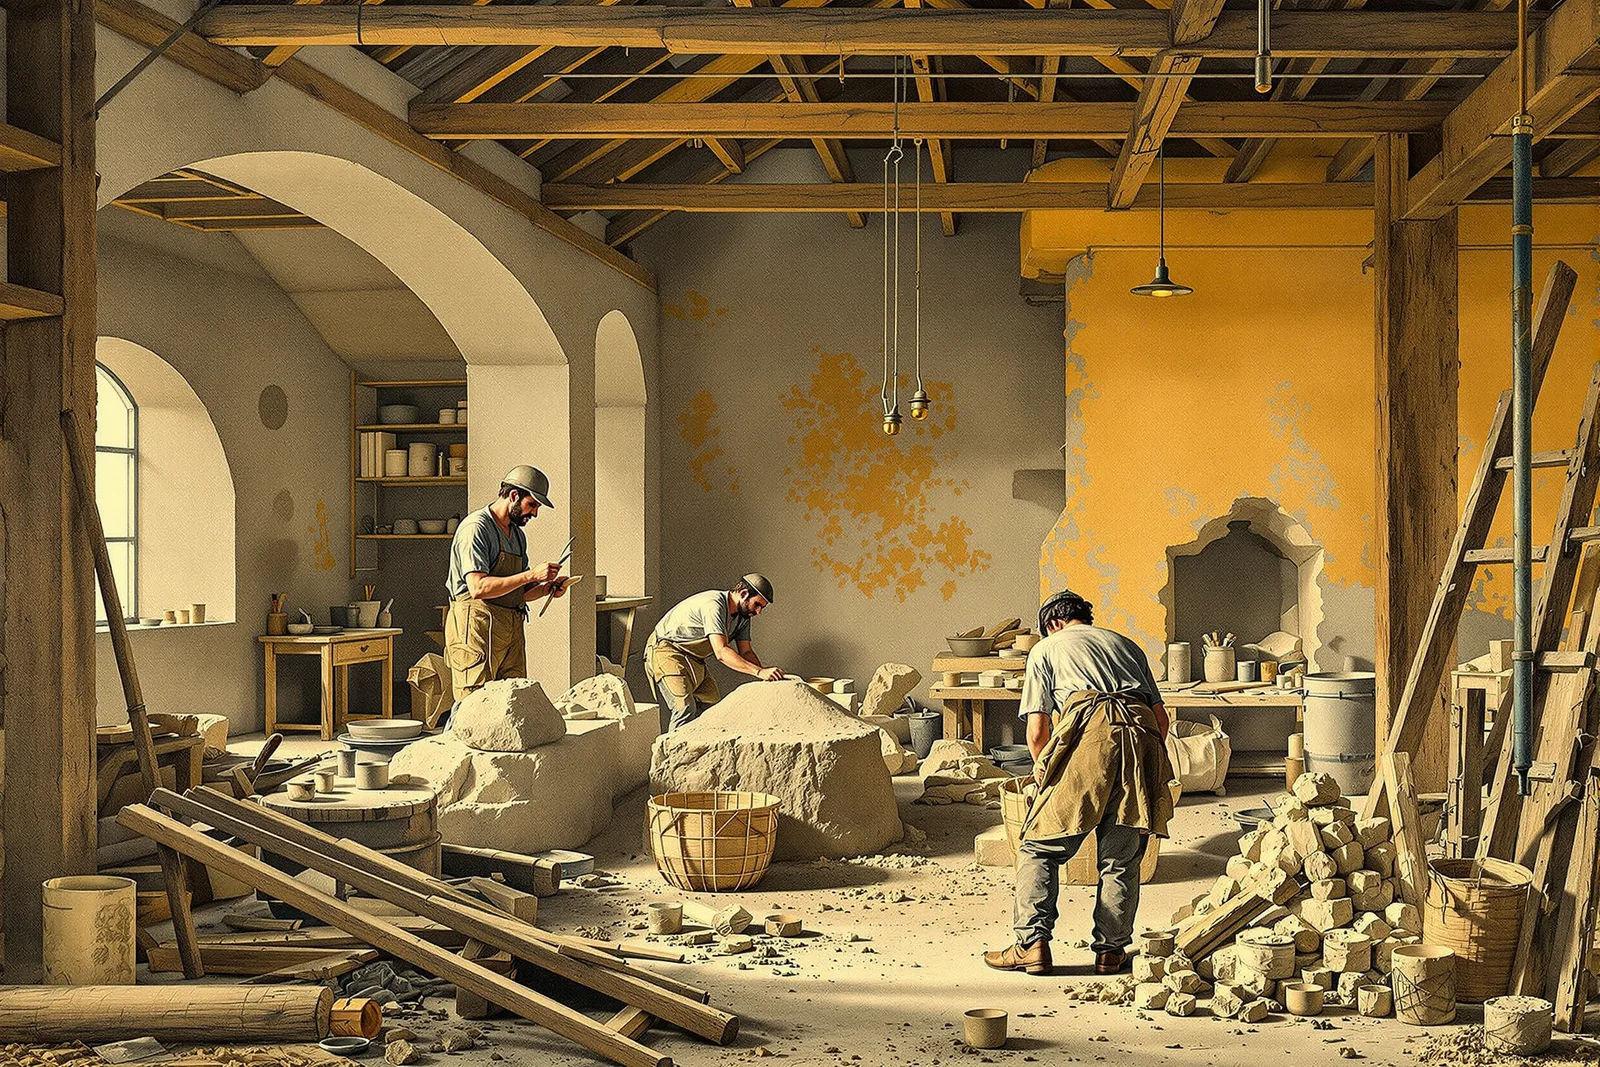
Plaster protects walls, insulates, and provides a beautiful finish. This campaign covers clay plaster, lime plaster, mixing, application, and decorative finishes.
Chapter 1: Plaster Types
| Type | Binder | Strength | Water Resistance | Breathability | Difficulty |
|---|---|---|---|---|---|
| Clay plaster | Clay | Low-moderate | Low (interior only) | Excellent | Low |
| Lime plaster | Lime putty | Moderate-high | Good | Very good | Moderate |
| Lime-sand render | Hydraulic lime | High | Very good | Good | Moderate |
| Gypsum plaster | Gypsum | Moderate | Very low | Good | Low |
| Cement plaster | Portland cement | Very high | Excellent | Poor | Low-moderate |
| Clay-lime hybrid | Clay + lime | Moderate | Moderate | Very good | Moderate |
Chapter 2: Clay Plaster
Clay plaster recipe: 1) Base coat: 1 part clay, 3 parts sand, chopped straw (10% by volume). 2) Finish coat: 1 part clay, 3-4 parts fine sand, fine fiber (5% by volume). 3) Polish coat: 1 part clay, 4 parts fine sand, no fiber. 4) Mix clay with water to smooth slurry. 5) Add sand gradually, mixing thoroughly. 6) Add fiber (chopped straw, cattail fluff, or horse hair). 7) Consistency: thick paste that holds its shape but spreads easily. 8) Let mix rest 24 hours (clay hydrates fully).
| Layer | Thickness | Sand Grade | Fiber | Purpose |
|---|---|---|---|---|
| Base coat (scratch) | 3/8-1/2 inch | Coarse | Chopped straw | Adhesion, leveling |
| Brown coat | 1/4-3/8 inch | Medium | Fine fiber | Smoothing, building thickness |
| Finish coat | 1/8-1/4 inch | Fine | Very fine or none | Final smooth surface |
| Polish coat (optional) | Paper thin | Very fine | None | Burnished, polished surface |
Application: 1) Dampen wall surface. 2) Apply base coat with hands or trowel. 3) Press firmly into wall (key into surface). 4) Score surface with notched trowel (provides key for next coat). 5) Allow to dry (3-7 days). 6) Dampen base coat. 7) Apply finish coat with steel trowel. 8) Smooth with trowel (multiple passes as it stiffens). 9) Optional: burnish with smooth stone or plastic when leather-hard.
Chapter 3: Lime Plaster
Lime plaster recipe: 1) Base coat: 1 part lime putty, 3 parts coarse sand, animal hair (goat, horse). 2) Finish coat: 1 part lime putty, 2.5 parts fine sand. 3) Polish coat (marmorino): 1 part lime putty, 1 part marble dust.
| Property | Clay Plaster | Lime Plaster | Cement Plaster |
|---|---|---|---|
| Water resistance | Low | Good | Excellent |
| Breathability | Excellent | Very good | Poor |
| Flexibility | Good | Good | Rigid (cracks) |
| Hardness | Low-moderate | Moderate-high | Very high |
| Self-healing | Yes (re-wet and smooth) | Partial (lime re-carbonates) | No |
| Interior/exterior | Interior only | Both | Both |
| Environmental impact | Very low | Low | High |
| Cost | Free (local materials) | Low | Moderate |
Lime plaster application: 1) Dampen wall thoroughly. 2) Apply base coat (scratch coat) 3/8 inch thick. 3) Score surface for key. 4) Allow to set (not dry, keep moist) for 3-7 days. 5) Mist with water daily (lime needs moisture to carbonate). 6) Apply finish coat 1/4 inch thick. 7) Trowel smooth. 8) Keep moist for 7 days (curing). 9) Lime plaster hardens by absorbing CO2 from air (carbonation). 10) Full cure: months to years (gets harder over time).
Chapter 4: Decorative Finishes
| Finish | Method | Appearance | Difficulty |
|---|---|---|---|
| Burnished clay | Polish with stone when leather-hard | Smooth, slightly glossy | Low-moderate |
| Tadelakt (lime) | Polish with stone + olive oil soap | Waterproof, glossy | High |
| Sgraffito | Scratch pattern through colored top layer | Two-tone pattern | Moderate |
| Fresco | Paint on wet lime plaster | Permanent color | High |
| Alis (clay paint) | Thin clay slip brushed on | Matte color | Low |
| Lime wash | Thin lime + water brushed on | White, chalky | Very low |
| Stucco relief | Build up shapes in plaster | Three-dimensional | High |
Chapter 5: Troubleshooting
| Problem | Cause | Solution |
|---|---|---|
| Cracking (large cracks) | Too much clay, too thick, dried too fast | Add more sand, apply thinner, slow drying |
| Cracking (hairline) | Normal shrinkage | Fill with thin slurry, burnish |
| Dusting (surface powder) | Too much sand, insufficient binder | Add more clay or lime to mix |
| Delamination (peeling off) | Wall not dampened, surface too smooth | Dampen wall, score surface for key |
| Efflorescence (white deposits) | Salts in materials | Use clean sand, rinse materials |
| Slow drying | High humidity, thick application | Improve ventilation, apply thinner |
Reference Card
- Clay plaster is free (the materials are clay, sand, straw, and water, all available locally at no cost; it is the most accessible wall finish in the world). 2. More sand prevents cracking (the most common problem with clay plaster is cracking; adding more sand reduces shrinkage; test the mix before applying to the wall). 3. Lime plaster is waterproof (lime plaster can be used on exterior walls exposed to rain; clay plaster cannot; lime is the traditional exterior plaster for thousands of years). 4. Lime hardens by absorbing CO2 (lime plaster carbonates over months and years, converting back to limestone; it literally turns to stone and gets harder with age). 5. Keep lime plaster moist while curing (lime needs moisture and CO2 to carbonate; misting with water daily for the first week prevents the plaster from drying before it cures). 6. Three coats for a perfect finish (scratch coat for adhesion and leveling, brown coat for smoothing, finish coat for the final surface; each coat is thinner and finer than the last). 7. Burnishing creates a polished surface (rubbing the surface with a smooth stone when leather-hard compresses and polishes the clay or lime; the result is a smooth, slightly glossy finish). 8. Plaster protects the wall (plaster is not just decorative; it protects the structural wall from weather, impact, and fire; an unplastered earthen wall erodes quickly).