Sovereignty Module: Hang the Light
Complete Wrought Iron Chandelier and Lighting Fixtures: From Bar to Illumination
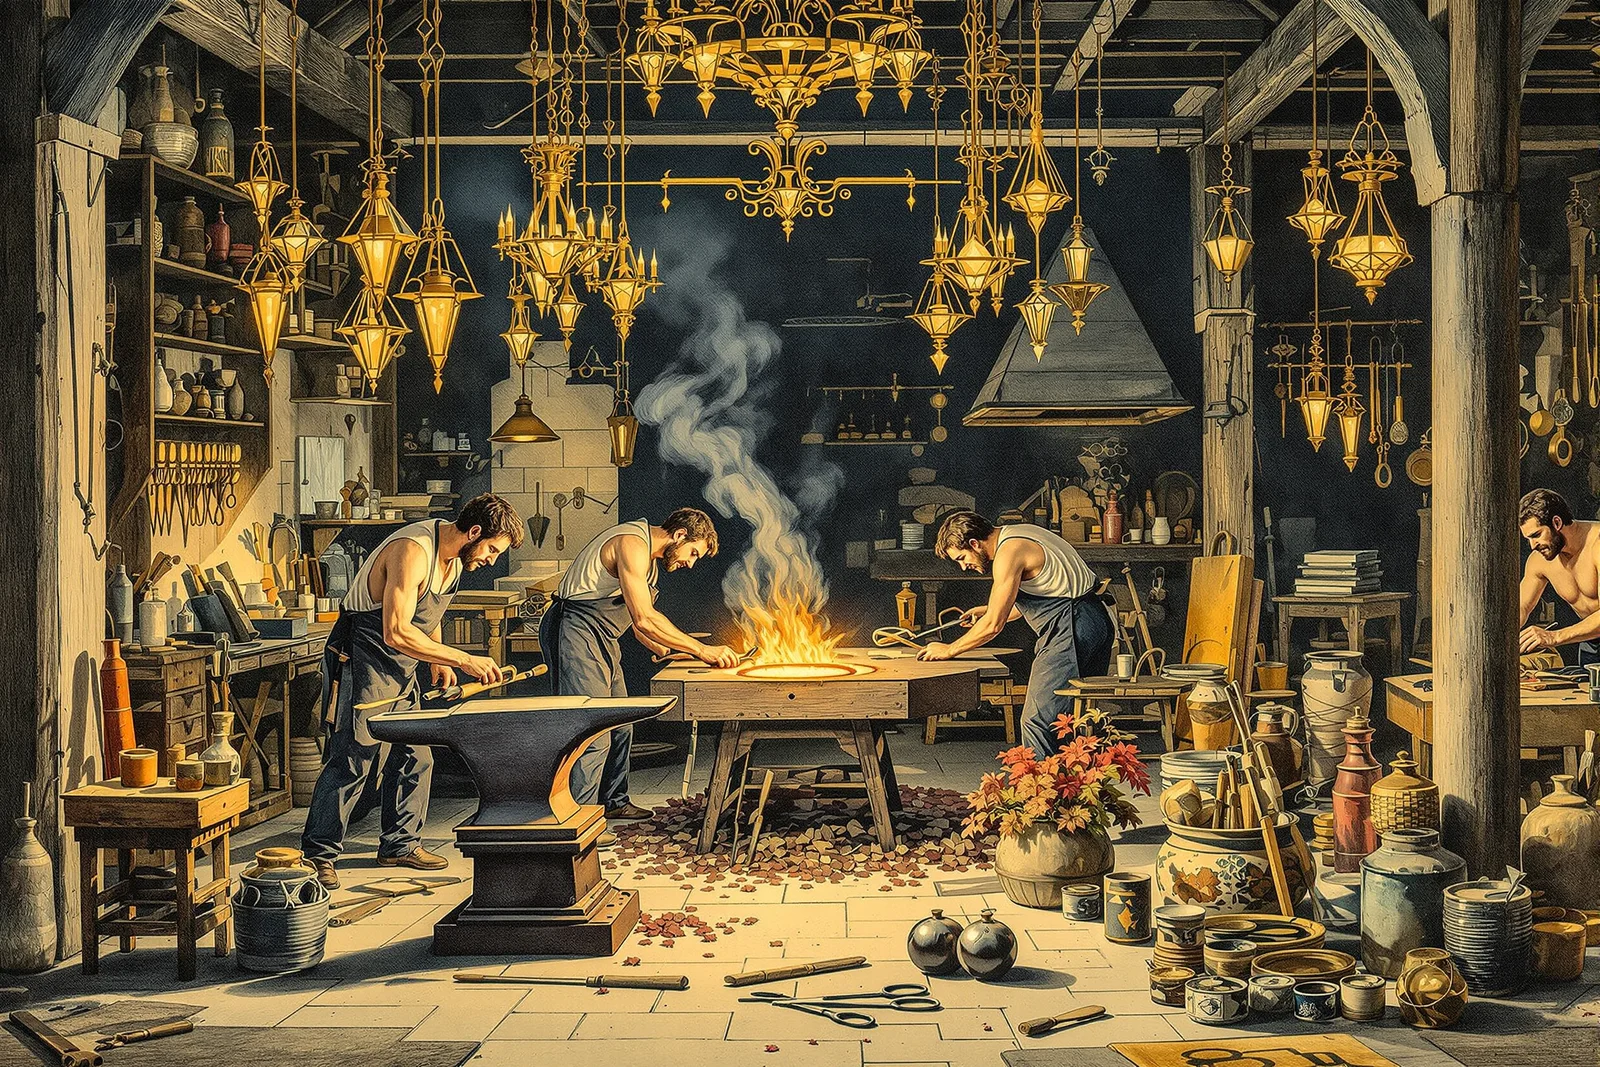
Lighting fixtures combine structural ironwork with decorative scrollwork. This campaign covers chandelier design, candle cup forging, chain making, and wall sconce construction.
Chapter 1: Lighting Fixture Types
| Type | Candles/Lights | Size | Difficulty | Historical Period |
|---|---|---|---|---|
| Wall sconce (single) | 1 | 8-12 inches | Low-moderate | All periods |
| Wall sconce (double) | 2 | 12-18 inches | Moderate | Medieval+ |
| Candle stand (floor) | 1-3 | 4-5 feet tall | Moderate | All periods |
| Ring chandelier | 4-8 | 18-30 inch diameter | Moderate-high | Medieval |
| Scroll chandelier | 4-12 | 24-36 inch diameter | High | Renaissance+ |
| Lantern (hanging) | 1 | 8-12 inches | Moderate | All periods |
Chapter 2: Candle Cup Forging
Candle cup methods: 1) Method A (dished plate): Cut 2-inch circle from 1/8 inch plate. Heat and dish over swage or ball stake. Punch or drill center hole for candle spike. 2) Method B (forged cup): Start with 1 inch round bar, 2 inches long. Heat and punch center cavity with ball punch. Forge rim outward. Weld to arm. 3) Method C (rolled cone): Cut triangle from 1/16 inch sheet. Roll into cone shape. Forge weld or rivet seam. 4) Candle spike: forge 1/4 inch square bar to sharp point, 1 inch long. Weld to center of cup. Spike holds candle upright.
| Component | Material | Dimension | Purpose |
|---|---|---|---|
| Cup (drip pan) | 1/8 inch plate or forged | 2 inch diameter | Catch wax drips |
| Spike | 1/4 inch square bar | 1 inch tall, pointed | Hold candle |
| Arm | 1/2 inch square bar | 8-14 inches | Extend from center |
| Scroll (decorative) | 3/8-1/2 inch square | Variable | Aesthetic element |
| Ring (chandelier) | 1/2-3/4 inch square or flat | 18-30 inch diameter | Main structure |
Chapter 3: Ring Chandelier Construction
Ring chandelier (medieval style): 1) Forge ring from 1/2 x 1 inch flat bar. 2) Ring diameter: 18-30 inches (depending on room size). 3) Bend bar around form (mandrel or jig). 4) Forge weld or rivet ring closed. 5) Forge 4-8 candle arms from 1/2 inch square bar. 6) Arms extend inward from ring (candles face up). 7) Forge candle cups and spikes on arm ends. 8) Rivet or forge weld arms to ring at equal spacing. 9) Forge 3-4 hanging chains (or use S-hooks and links). 10) Attach chains to ring at equal spacing. 11) Join chains at top with single ring or hook. 12) Hang from ceiling beam with forged hook.
Chapter 4: Wall Sconce Construction
| Component | Stock | Length | Technique |
|---|---|---|---|
| Back plate | 1/8-3/16 inch plate | 10-14 inches tall | Cut to shape, punch mounting holes |
| Candle arm | 1/2 inch square | 6-10 inches | Forge scroll or curve |
| Candle cup | 1/8 inch plate | 2 inch diameter | Dish and spike |
| Decorative scrolls | 3/8 inch square | Variable | Forge C and S scrolls |
| Mounting hardware | 1/4 inch round | 2-3 inches | Forge hooks or drill for screws |
Wall sconce assembly: 1) Design back plate shape (shield, rectangle, or organic). 2) Cut back plate from 1/8 inch plate. 3) Forge candle arm with scroll and cup. 4) Rivet or weld arm to back plate. 5) Add decorative scrolls. 6) Punch or drill mounting holes in back plate. 7) Finish: beeswax, linseed oil, or paint. 8) Mount to wall with screws or forged nails.
Chapter 5: Chain Making for Fixtures
| Link Type | Stock | Size | Strength | Appearance |
|---|---|---|---|---|
| Round link | 3/16-1/4 inch round | 1-1.5 inch long | Good | Simple, traditional |
| Oval link | 3/16-1/4 inch round | 1.5-2 inches long | Good | Elegant |
| Twisted link | 1/4 inch square | 1.5-2 inches long | Good | Decorative |
| Figure-8 link | 3/16 inch round | 2 inches long | Moderate | Decorative |
| S-hook (connector) | 1/4-3/8 inch round | 2-3 inches | High | Functional, adjustable |
Reference Card
- Equal spacing creates balance (candle arms and hanging chains must be equally spaced around the ring; unequal spacing causes the chandelier to hang crooked and look wrong). 2. The spike holds the candle (a sharp spike in the center of each cup pierces the candle base and holds it upright; without the spike, candles fall over and drip wax). 3. Three chains minimum for stability (a chandelier hung from fewer than three chains can swing and tilt; three or four chains at equal spacing provide stable, level hanging). 4. The drip cup catches wax (a cup or pan under each candle catches melted wax before it drips on people below; this is both practical and decorative). 5. Size the chandelier to the room (a chandelier should be roughly one-third the width of the table or one-half the width of the room; too large overwhelms, too small looks insignificant). 6. Beeswax finish is traditional (a thin coat of beeswax on warm iron provides a soft, dark finish that protects against rust and gives a warm, hand-crafted appearance). 7. Forge weld for permanence, rivet for assembly (forge welding creates the strongest and cleanest joints; riveting allows assembly of pre-forged components and is easier for complex pieces). 8. A handmade chandelier transforms a room (a wrought iron chandelier is both functional lighting and a statement of craftsmanship; it is often the centerpiece of a room and the most visible piece of ironwork in a home).