Sovereignty Module: Shape the Clay
Complete Primitive Pottery: From River Bank to Fired Vessel
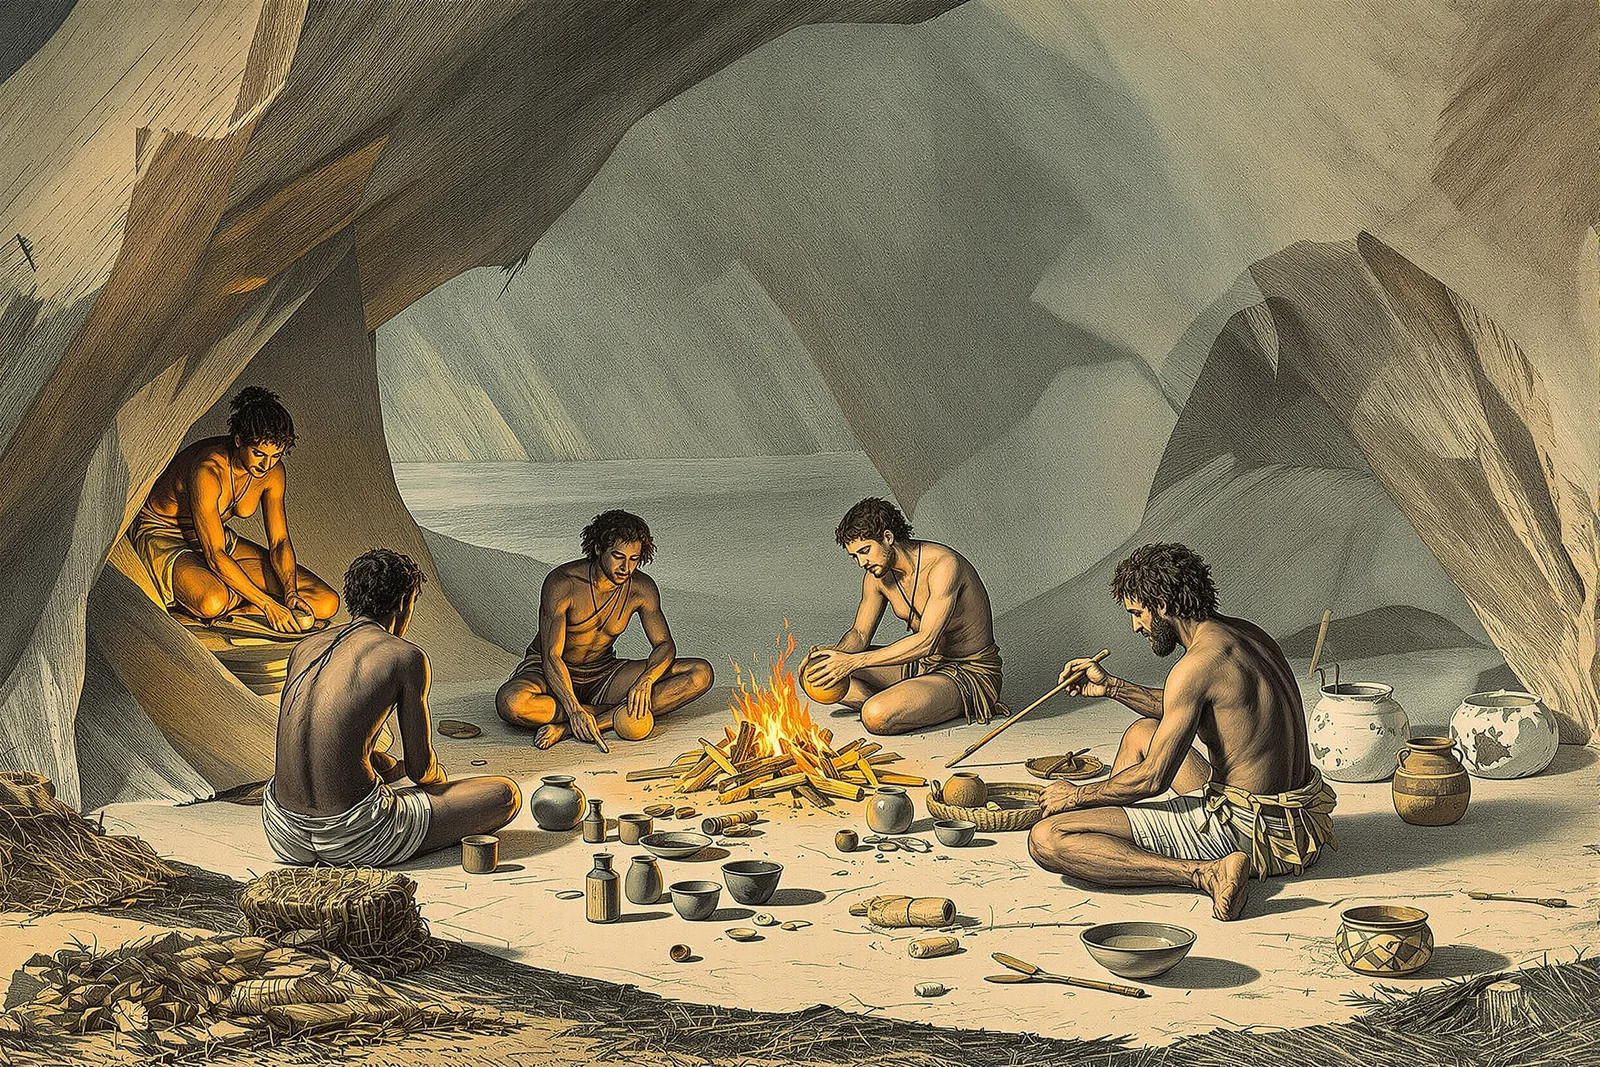
Pottery is one of humanity's oldest technologies. This campaign covers clay sourcing, hand-building techniques, pit firing, and creating functional vessels without a wheel or kiln.
Chapter 1: Finding and Preparing Clay
| Source | Quality | Availability | Processing |
|---|---|---|---|
| River banks (cut banks) | Variable | Common near waterways | Dig, soak, screen, test |
| Lake shores | Variable | Common | Dig, soak, screen, test |
| Road cuts/erosion | Variable | Common | Dig, soak, screen, test |
| Subsoil (below topsoil) | Often good | Everywhere (dig deep enough) | Dig, soak, screen, test |
| Commercial (bagged) | Excellent | Purchase | Ready to use |
Clay testing: 1) Dig sample from below topsoil (clay is usually 1-3 feet down). 2) Wet test: add water, knead until smooth. Good clay is plastic (holds shape when bent). 3) Ribbon test: roll into snake, flatten. Should form ribbon 4+ inches before breaking. 4) Shrinkage test: make small tile, mark 4-inch line. Dry completely. Measure line (should shrink 5-10%). 5) Fire test: fire small test piece. Should not crack or crumble. 6) If too sticky (pure clay): add sand or crusite grog (10-30%). 7) If too sandy: add more clay or bentonite. 8) Most natural clays need tempering (adding sand, grit, or crushed fired pottery).
Clay preparation: 1) Dig raw clay. 2) Dry completely (break into small pieces). 3) Soak in water (slake) until dissolved into slurry. 4) Screen through mesh (removes rocks, roots, debris). 5) Let settle (clay settles, pour off excess water). 6) Dry to workable consistency (leather-hard to soft). 7) Wedge (knead like bread) for 10-15 minutes (removes air bubbles, evens moisture). 8) Clay is ready when it's smooth, plastic, and free of air pockets.
Chapter 2: Hand-Building Techniques
| Technique | Difficulty | Speed | Wall Thickness | Best For |
|---|---|---|---|---|
| Pinch pot | Very low | Fast | Variable (thick) | Small bowls, cups |
| Coil building | Low | Moderate | Even (controllable) | Any size vessel |
| Slab building | Low | Moderate | Even (controllable) | Flat-sided vessels, tiles |
| Paddle and anvil | Moderate | Moderate-fast | Thin (strong) | Large vessels, thinning walls |
| Mold (press) | Low | Fast | Even | Bowls, plates (repeatable) |
Coil building: 1) Roll clay into ropes (coils), 1/2 to 3/4 inch diameter. 2) Make base: spiral a coil from center outward (flat disc). 3) Score (scratch) top edge of base. 4) Apply slip (liquid clay) to scored edge. 5) Place first coil on base edge. 6) Score and slip each coil before adding next. 7) Stack coils, blending inside seams with finger or tool (smooth inside). 8) Outside can be left coiled (decorative) or smoothed. 9) Build 3-4 inches, let firm slightly, then continue (prevents collapse). 10) Shape by pushing from inside (wider) or outside (narrower). 11) Smooth final surface with damp cloth or smooth stone. 12) Let dry SLOWLY (cover with plastic, dry over 1-2 weeks). 13) Fast drying = cracking (the most common failure).
Chapter 3: Surface Treatment
| Treatment | When Applied | Effect | Difficulty |
|---|---|---|---|
| Burnishing | Leather-hard | Smooth, semi-glossy surface | Low (time-consuming) |
| Slip coating | Leather-hard | Color, smooth surface | Very low |
| Incising/carving | Leather-hard | Decorative patterns | Low |
| Stamping/impressing | Soft to leather-hard | Texture, patterns | Very low |
| Cord marking | Soft | Textured surface | Very low |
| Painting (slip) | Leather-hard to dry | Colored designs | Low-moderate |
Burnishing: 1) Wait until pot is leather-hard (firm but not dry). 2) Use smooth stone, back of spoon, or polished bone. 3) Rub surface with firm pressure in overlapping strokes. 4) The rubbing compresses and aligns clay particles. 5) Continue until surface is smooth and slightly shiny. 6) Burnished surface is more waterproof than unburnished. 7) After firing, burnished surface has a beautiful low sheen. 8) This is the oldest form of pottery finishing (no glaze needed).
Chapter 4: Pit Firing
| Factor | Specification | Why |
|---|---|---|
| Temperature | 1,200-1,650°F | Sufficient to harden clay (not vitrify) |
| Fuel | Wood, dung, straw, bark | Available, controllable |
| Duration | 2-6 hours (fire) + 12-24 hours (cooling) | Complete firing and safe cooling |
| Preheating | Essential (warm pots near fire first) | Prevents thermal shock cracking |
| Atmosphere | Variable (oxidation and reduction) | Creates color variation (feature, not flaw) |
Pit firing procedure: 1) Dig pit: 2-3 feet deep, large enough for all pots plus fuel. 2) Line bottom with fuel (kindling, small wood). 3) CRITICAL: preheat all pots near a small fire for 1-2 hours (warm to the touch). 4) Place preheated pots in pit (upside down or on sides, not touching). 5) Pack fuel around and over pots (wood, bark, dung). 6) Light fire from top (burns down through fuel). 7) Add fuel as needed to maintain fire (2-4 hours). 8) Let fire burn down to coals. 9) Cover with earth or ash (retains heat, slows cooling). 10) DO NOT REMOVE POTS until completely cool (12-24 hours). 11) Thermal shock from rapid cooling cracks pottery. 12) Results: earthenware pottery, functional for cooking and storage.
Chapter 5: Functional Pottery
| Vessel | Use | Size | Wall Thickness | Special Features |
|---|---|---|---|---|
| Cooking pot | Boiling, stewing | 1-5 quarts | 1/4-3/8 inch | Round bottom (even heating), tempered clay |
| Storage jar | Dry goods, water | 1-10 gallons | 3/8-1/2 inch | Narrow mouth (keeps out pests), thick walls |
| Water jug | Carrying water | 1-3 gallons | 3/8 inch | Handle, narrow mouth, burnished (waterproof) |
| Bowl | Eating, mixing | 1-4 cups | 1/4-3/8 inch | Wide mouth, stable base |
| Cup/mug | Drinking | 8-16 oz | 1/4 inch | Handle, comfortable rim |
| Plate | Eating, drying food | 8-12 inch diameter | 1/4 inch | Flat with slight rim |
| Oil lamp | Lighting | Small (cup-sized) | 1/4 inch | Pinched spout for wick |
Reference Card
- Dry slowly (fast drying cracks pottery; cover with plastic, dry over 1-2 weeks in shade). 2. Wedge out air bubbles (trapped air expands when heated and explodes the pot; wedge thoroughly). 3. Preheat before firing (cold pots in hot fire = thermal shock = shattered pottery; warm pots slowly first). 4. Cool slowly after firing (don't open the pit or kiln until completely cool; 12-24 hours minimum). 5. Temper your clay (pure clay shrinks and cracks; add 10-30% sand or crushed pottery for stability). 6. Score and slip every joint (coil-to-coil joints fail if not scored and slipped; this is the bond). 7. Burnishing waterproofs (rubbing leather-hard clay with a smooth stone compresses the surface; more waterproof without glaze). 8. Pottery is civilization (the ability to make waterproof, fireproof containers transforms food storage, cooking, and water management).