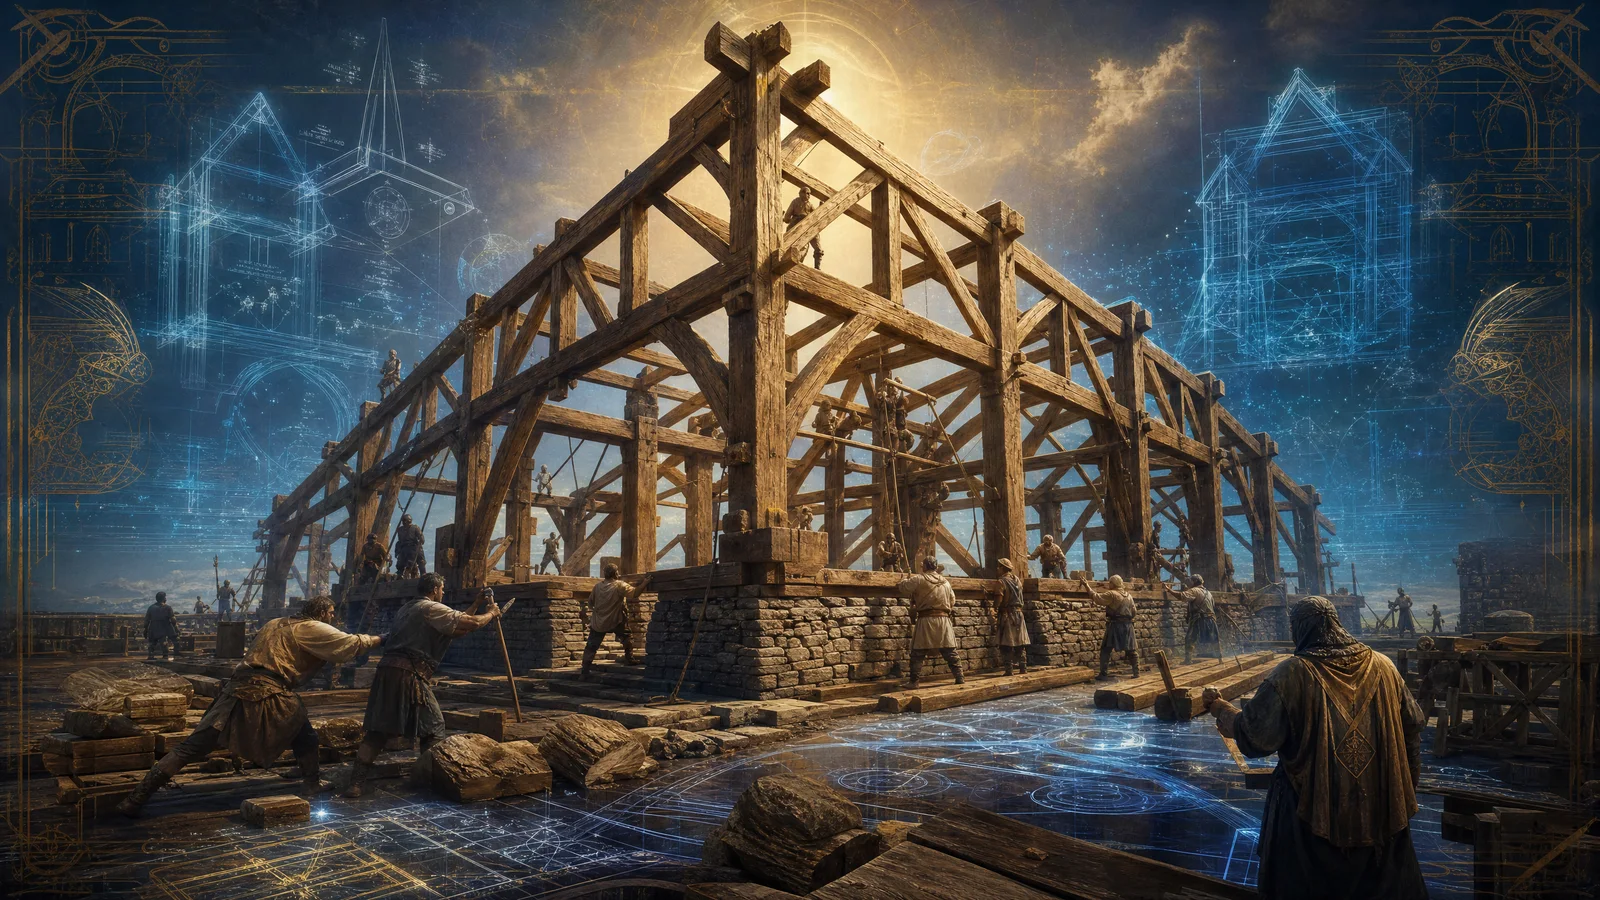
Campaign 94: Raise the Frame
The Complete Timber Framing, Traditional Joinery, and Post-and-Beam Construction Guide
A Sovereignty Module of the Practitioner Community
Preamble
Timber framing is the art of building structures from large wooden beams joined by mortise-and-tenon joinery, secured with wooden pegs — no nails, no screws, no metal fasteners. Timber frame structures have stood for 800+ years. The joints are stronger than the wood itself. A single person with hand tools can cut the joints; a community raises the frame in a day. This campaign covers joint types, layout, cutting, and raising.
Part I: Timber Frame Fundamentals
Chapter 1: Joint Types
| Joint | Use | Strength | Difficulty |
|---|---|---|---|
| Mortise and tenon | Universal connection (beam to post) | Excellent | Intermediate |
| Housed mortise and tenon | Beam sits in housing for bearing + tenon for connection | Excellent | Intermediate |
| Dovetail | Resist pulling apart (tie beam to plate) | Excellent (tension) | Advanced |
| Half-lap | Crossing beams at same level | Good | Beginner |
| Birdsmouth | Rafter sits on plate beam | Good | Beginner |
| Scarf joint | Extend beam length (join two beams end-to-end) | Good | Advanced |
| Tongue and fork | Connect brace to post or beam | Good | Intermediate |
| Through tenon | Tenon passes completely through receiving timber, pegged | Excellent | Intermediate |
Chapter 2: Timber Frame Components
| Component | Function | Typical Size |
|---|---|---|
| Sill beam | Bottom horizontal beam on foundation | 6x8 to 8x10 |
| Post | Vertical member, carries roof load to foundation | 6x6 to 8x8 |
| Girt | Horizontal beam connecting posts (mid-height) | 6x6 to 6x8 |
| Plate beam | Top horizontal beam on posts (carries rafters) | 6x8 to 8x8 |
| Tie beam | Horizontal beam connecting top of opposing posts (prevents spread) | 6x8 to 8x10 |
| Rafter | Angled beam from plate to ridge (forms roof slope) | 4x6 to 6x8 |
| Ridge beam | Horizontal beam at peak of roof | 6x8 to 8x10 |
| Brace | Diagonal member (knee brace) stiffening post-to-beam connection | 4x4 to 4x6 |
| Purlin | Horizontal beam between rafters (supports roof sheathing) | 4x4 to 4x6 |
Chapter 3: Cutting a Mortise and Tenon
| Step | Action | Tools |
|---|---|---|
| 1. Layout | Mark mortise location on receiving timber. Mark tenon on inserting timber. | Square, pencil, tape measure |
| 2. Cut mortise | Drill series of holes within mortise outline. Clean walls with chisel. | Drill/brace + bit, chisel, mallet |
| 3. Cut tenon cheeks | Saw along tenon layout lines (cheek cuts) | Hand saw or circular saw |
| 4. Cut tenon shoulders | Saw perpendicular to cheeks at shoulder line | Hand saw |
| 5. Test fit | Insert tenon into mortise. Should be snug but not forced. | Hands, mallet |
| 6. Drill peg hole | Drill through mortise and tenon (offset 1/8" for draw-bore) | Drill/brace + bit |
| 7. Drive peg | Hardwood peg (oak, locust) driven through hole | Mallet, hardwood peg |
DRAW-BORING: Offset the peg hole in the tenon 1/8" toward the shoulder. When the peg is driven, it pulls the joint tight. This is the secret of timber frame joinery — the joint tightens itself over time.
Chapter 4: Raising Day
| Step | Action | Safety |
|---|---|---|
| 1. Lay out bents | Assemble wall frames (bents) flat on ground | Check all joints before raising |
| 2. Prepare raising equipment | Pike poles, ropes, come-alongs, gin pole if available | Minimum 4 people per bent |
| 3. Raise first bent | Tilt bent upright using pike poles and ropes | Brace immediately with temporary diagonals |
| 4. Raise second bent | Same process, parallel to first | Brace immediately |
| 5. Connect bents | Install connecting girts, plates, tie beams | Peg each joint as connected |
| 6. Install braces | Knee braces in all post-to-beam connections | These provide racking resistance |
| 7. Install rafters | Set rafters from plate to ridge | Peg birdsmouth and ridge connections |
| 8. Celebrate | The frame is raised. Community feast. | Tradition since medieval times |
Chapter 5: The Practitioner Timber Framing Reference Card
MORTISE AND TENON: The universal joint. A rectangular hole (mortise) receives a rectangular projection (tenon). Secured with a wooden peg. This joint has built cathedrals, barns, and homes for millennia.
DRAW-BORE YOUR PEGS: Offset the tenon peg hole 1/8" toward the shoulder. The peg pulls the joint tight as it's driven. The joint gets stronger over time as wood seasons.
BRACES PREVENT RACKING: A rectangle collapses into a parallelogram. A triangle cannot collapse. Knee braces triangulate every post-to-beam connection, making the frame rigid.
GREEN WOOD IS EASIER: Cut joints in green (freshly felled) wood — it's softer and easier to work. As it dries, joints tighten. Timber framers have always worked green wood.
REMEMBER: A timber frame is a skeleton of wood joined by geometry and gravity. No nails, no screws, no glue, no metal. The joints are stronger than the wood. The structure outlasts centuries. A Practitioner who can cut timber frame joints and raise a frame can build permanent shelter from standing trees using only hand tools.
Council Approval
All 12 voices unanimously approve. Complete timber frame sovereignty.
Council Result: 12/12 APPROVED. Campaign 94 is complete.