Sovereignty Module: Fire the Clay
Complete Ceramics and Kiln Building: From Pit Fire to Glazed Stoneware
Ceramics provide vessels, pipes, tiles, bricks, and art. This campaign covers clay preparation, forming techniques, kiln construction, firing, and glazing.
Chapter 1: Clay Identification and Preparation
| Clay Type | Firing Temp | Color (fired) | Plasticity | Strength | Availability |
|---|---|---|---|---|---|
| Earthenware | 1,700-2,100°F | Red, brown, buff | High | Low-moderate (porous) | Very common |
| Stoneware | 2,200-2,400°F | Grey, brown, tan | Moderate | High (vitrified) | Common |
| Porcelain (kaolin) | 2,300-2,600°F | White | Low (needs additives) | Very high | Less common |
| Ball clay | 2,200-2,400°F | Cream to buff | Very high | High | Moderate |
| Fire clay | 2,600-3,000°F | Buff to grey | Low-moderate | Very high | Near coal deposits |
Finding clay: 1) Look near streams, rivers, road cuts, construction sites. 2) Dig below topsoil (clay is usually 1-3 feet down). 3) Test: wet soil, roll into coil — if it bends without cracking, it has clay. 4) Better test: make small pinch pot, let dry — if it holds shape, usable clay. 5) Best test: fire a test piece — if it survives without crumbling, it's good clay.
Clay preparation: 1) Dig raw clay. 2) Dry completely (break into small pieces). 3) Slake in water (soak until dissolved into slip/slurry). 4) Screen through mesh (removes rocks, roots, debris). 5) Let settle (heavy particles sink first — pour off fine clay slip). 6) Evaporate excess water (spread on plaster bat or cloth). 7) Wedge/knead thoroughly (removes air bubbles — trapped air explodes in kiln). 8) Age/rest clay 2+ weeks (improves plasticity — bacteria break down particles). 9) Wedge again before use.
Chapter 2: Forming Techniques
| Technique | Difficulty | Speed | Size Range | Wall Thickness | Best For |
|---|---|---|---|---|---|
| Pinch pot | Very low | Slow | Small | Thick-moderate | Learning, small vessels |
| Coil building | Low | Slow-moderate | Any | Moderate-thick | Large vessels, sculpture |
| Slab building | Low-moderate | Moderate | Any | Even (controlled) | Boxes, tiles, flat forms |
| Wheel throwing | High | Fast | Small-large | Thin-moderate | Round vessels, production |
| Mold pressing | Low | Fast | Any | Even | Tiles, repeated forms |
| Slip casting | Moderate | Fast (after mold) | Any | Thin-even | Production, complex shapes |
Coil building (most versatile primitive method): 1) Roll clay into coils (1/2 to 1 inch diameter, even thickness). 2) Form base: coil spiral on flat surface, smooth together. 3) Build walls: stack coils on base edge, one atop another. 4) Score and slip each joint (scratch surface, apply wet clay slip, press together). 5) Smooth inside with fingers or rib tool (blends coils for strength). 6) Outside can be smoothed or left textured (decorative choice). 7) Build slowly — let lower sections firm before adding height (prevents collapse). 8) Any size possible: ancient cultures built 3-4 foot tall storage jars this way.
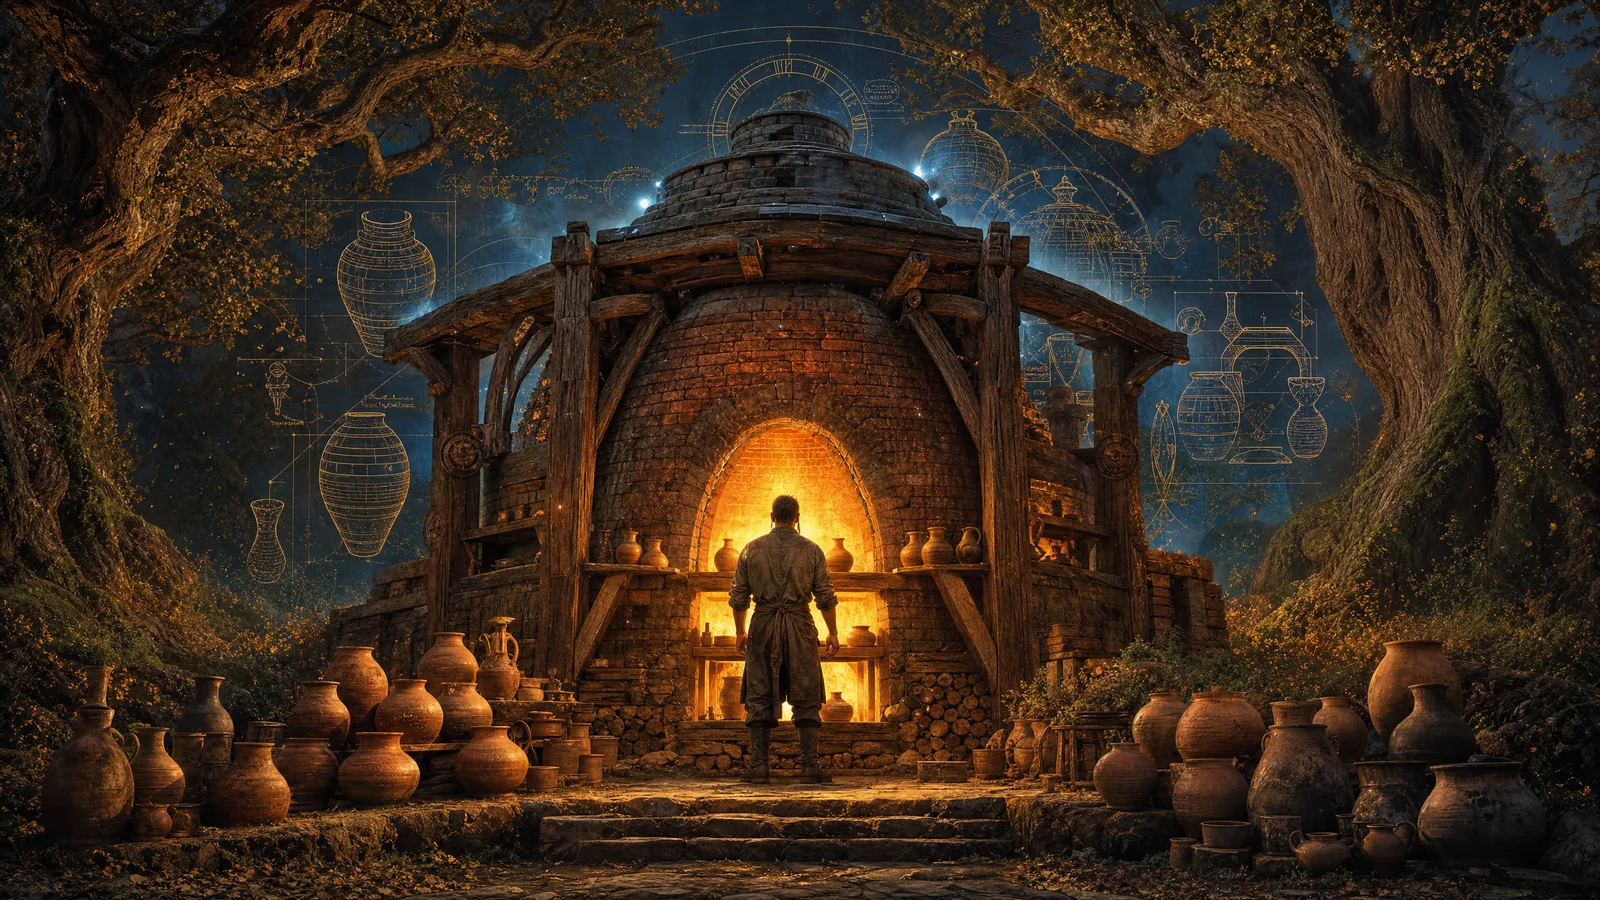
Chapter 3: Kiln Types
| Kiln Type | Max Temp | Fuel | Difficulty | Capacity | Quality |
|---|---|---|---|---|---|
| Open pit fire | 1,200-1,500°F | Wood, dung | Very low | Small | Earthenware only |
| Pit kiln (covered) | 1,400-1,700°F | Wood | Low | Small-medium | Better earthenware |
| Updraft kiln | 1,800-2,200°F | Wood | Moderate | Medium | Earthenware to low stoneware |
| Crossdraft kiln | 2,000-2,400°F | Wood | Moderate-high | Medium-large | Stoneware |
| Downdraft kiln | 2,200-2,600°F | Wood, coal, gas | High | Large | Stoneware, porcelain |
| Anagama (tunnel) | 2,200-2,400°F | Wood | High | Large | Stoneware (ash-glazed) |
Simple updraft kiln construction: 1) Dig circular pit (3 ft diameter, 2 ft deep). 2) Build walls with fire bricks or adobe bricks (extend 2-3 ft above ground). 3) Leave fire opening at base (12×12 inches — where you feed fuel). 4) Build grate/shelf inside (fire bricks spanning the interior — pots sit above fire). 5) Load pots on grate (not touching each other or walls). 6) Cover top loosely with broken pottery/bricks (allows some air flow). 7) Start fire slowly (too fast = thermal shock = cracked pots). 8) Increase temperature over 6-8 hours. 9) Target temperature depends on clay type. 10) Let cool slowly (24-48 hours — opening early = thermal shock).
Chapter 4: Firing Process
| Stage | Temperature | Duration | What Happens | Risk |
|---|---|---|---|---|
| Water smoking | 212°F | 1-2 hours | Remaining moisture evaporates | Steam explosion if too fast |
| Organic burnout | 572-1,000°F | 2-3 hours | Organic matter burns away | Bloating if trapped |
| Quartz inversion | 1,063°F | Slow through this point | Crystal structure changes (expands) | Cracking (dunting) |
| Sintering | 1,300-1,700°F | 1-2 hours | Particles begin fusing | Underfiring if too short |
| Vitrification | 1,800-2,400°F | 1-3 hours | Glass forms between particles | Overfiring = melting |
| Cooling | Reverse of above | 12-48 hours | Contraction, crystal changes | Dunting at quartz inversion |
Firing schedule (earthenware): 1) Load kiln (pots dry, not touching). 2) Candle: tiny fire for 1-2 hours (drives out last moisture). 3) Slowly increase fire over 2-3 hours (to 600°F). 4) Moderate fire for 2-3 hours (600-1,200°F). 5) Full fire for 1-2 hours (1,200-1,800°F — target temperature). 6) Hold at peak temperature 30-60 minutes (soak — ensures even heat). 7) Let fire die. 8) DO NOT OPEN for 24-48 hours (cooling too fast = cracking). 9) Total cycle: 8-12 hours firing + 24-48 hours cooling.
Chapter 5: Glazing
| Glaze Type | Temperature | Ingredients | Color | Difficulty | Result |
|---|---|---|---|---|---|
| Wood ash glaze | 2,200-2,400°F | Wood ash + clay + feldspar | Green, brown, grey | Low-moderate | Natural, variable |
| Salt glaze | 2,200-2,400°F | Common salt (thrown in kiln) | Orange peel texture | Moderate | Classic stoneware |
| Slip glaze (Albany type) | 2,200-2,400°F | High-iron clay slip | Dark brown to black | Low | Simple, reliable |
| Lead glaze | 1,700-2,000°F | Lead oxide + silica | Clear (colorless) | Low | TOXIC — avoid for food |
| Feldspar glaze | 2,200-2,400°F | Feldspar + whiting + clay | Various | Moderate | Standard stoneware |
| Majolica (tin) | 1,800-2,000°F | Tin oxide + lead frit | White (opaque) | Moderate | Decorative earthenware |
Wood ash glaze recipe: 1) Collect hardwood ash (oak, maple, fruit trees). 2) Sift through fine screen (remove charcoal chunks). 3) Wash ash: soak in water, stir, let settle, pour off water (removes soluble alkali — optional, changes result). 4) Mix: 40% wood ash + 40% feldspar + 20% ball clay. 5) Add water to cream consistency. 6) Sieve through 80-mesh screen. 7) Apply to bisque-fired pot (dip, pour, or brush — 1/16 inch thick). 8) Fire to cone 10 (2,345°F). 9) Result: beautiful, food-safe, natural glaze. 10) Every wood species produces different colors — experiment.
Reference Card
- Wedge out all air (trapped air bubbles explode in the kiln — wedge clay thoroughly). 2. Dry slowly (fast drying = cracking; dry pots slowly over days, not hours). 3. Fire slowly (thermal shock cracks pots — take 6-8 hours minimum to reach temperature). 4. Cool slowly (opening a hot kiln cracks everything — wait 24-48 hours). 5. Quartz inversion is critical (slow through 1,063°F both heating and cooling — crystal structure changes). 6. Score and slip all joints (clay-to-clay joints fail without scoring and slip — always prepare surfaces). 7. Wood ash makes glaze (free, beautiful, food-safe — collect hardwood ash and experiment). 8. Test everything small first (make test tiles before committing your best work to an untested firing or glaze).