Complete Brick Kiln Construction and Operation: From Clay to Fired Brick
A kiln transforms soft clay bricks into permanent building material. This campaign covers kiln design, construction, loading, firing, and brick grading.
Chapter 1: Kiln Types
Type
Capacity
Fuel
Temperature
Difficulty
Reusable
Clamp kiln (open stack)
500-5,000 bricks
Wood, coal
1600-1800°F
Low
No (single use)
Updraft kiln (permanent)
1,000-10,000 bricks
Wood, coal
1800-2100°F
Moderate
Yes
Downdraft kiln
2,000-20,000 bricks
Wood, coal
1800-2200°F
High
Yes
Scove kiln (semi-permanent)
1,000-5,000 bricks
Wood
1600-1900°F
Low-moderate
Semi
Tunnel kiln (continuous)
Continuous
Any
1800-2200°F
Very high
Yes
Chapter 2: Clamp Kiln (Simplest Method)
Clamp kiln construction: 1) Level a flat area of ground (larger than brick stack). 2) Lay fire channels: parallel trenches 12 inches wide, 12 inches deep, 18 inches apart. 3) Fill channels with dry firewood. 4) Stack dried (green) bricks over channels in open lattice pattern. 5) Leave 1/2-1 inch gaps between bricks (allows hot gas to circulate). 6) Stack 6-10 layers high, tapering inward at top. 7) Plaster outside of stack with mud (2-3 inches thick, leave vent holes). 8) Leave fire openings at base of each channel. 9) Light fires in channels. 10) Maintain fire for 24-72 hours (depending on kiln size). 11) Gradually increase temperature over first 12 hours (too fast = cracking). 12) Full firing temperature: 1600-1800°F for 12-24 hours. 13) Allow kiln to cool slowly (2-3 days, do not open early). 14) Unstack and grade bricks.
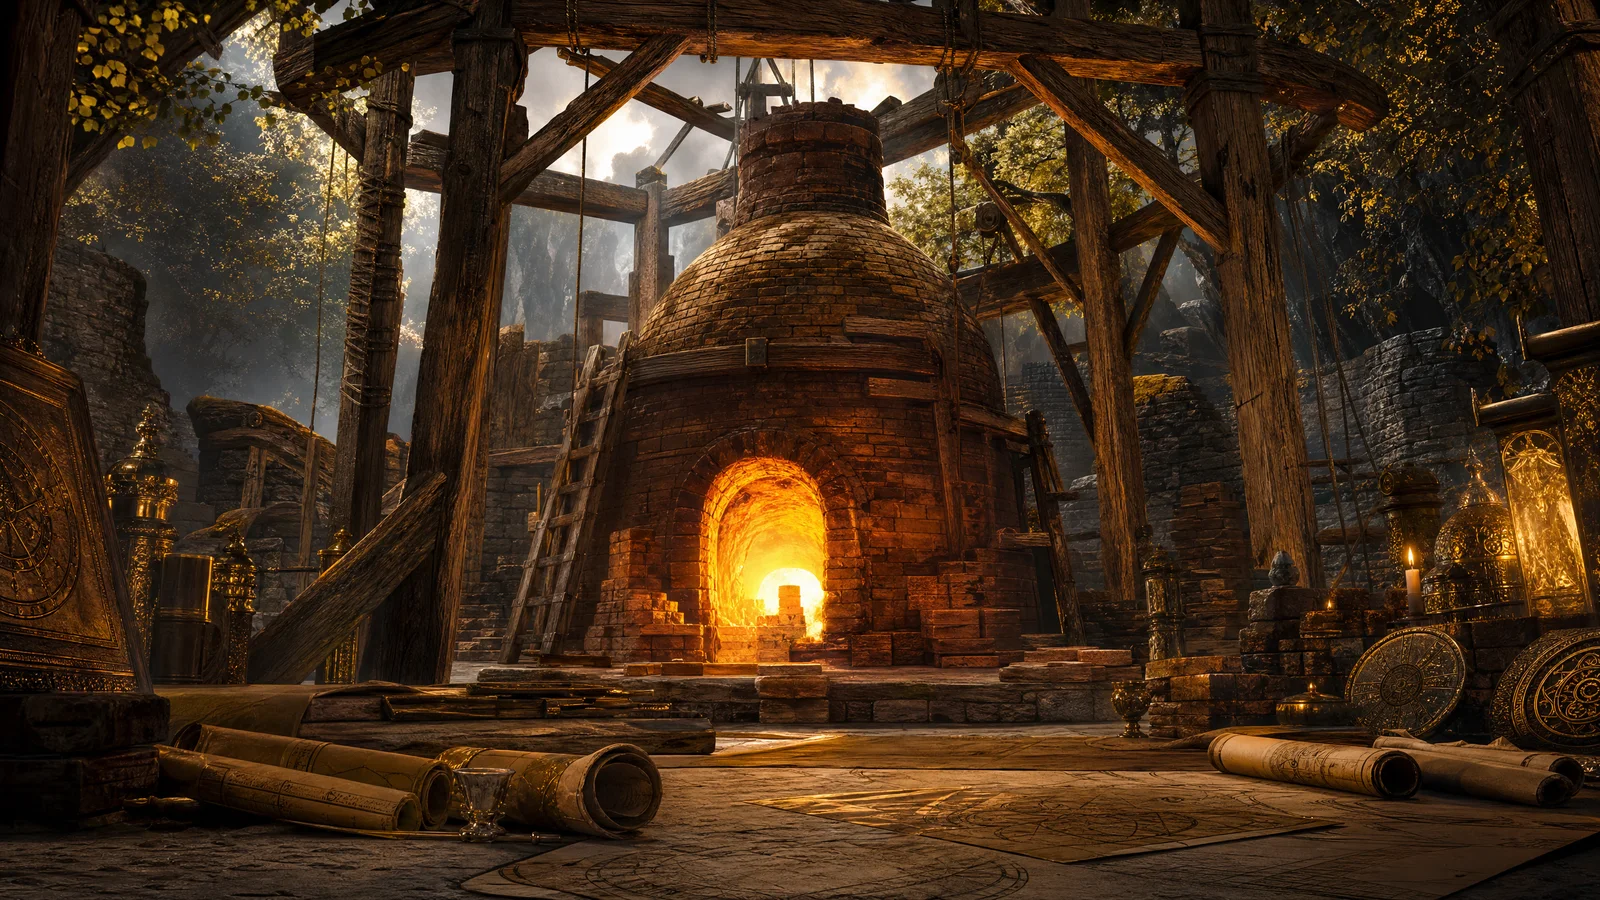
Chapter 3: Permanent Updraft Kiln
Component
Material
Purpose
Specification
Foundation
Stone or fired brick
Support kiln weight
Level, 6 inches thick
Firebox
Firebrick
Combustion chamber
Below kiln floor
Kiln floor (bag wall)
Firebrick with gaps
Distribute heat evenly
Perforated floor above firebox
Kiln walls
Brick (double wall with air gap)
Contain heat
12-18 inches thick
Loading door
Brick (temporary)
Load and unload bricks
Bricked up for each firing
Chimney/flue
Brick
Create draft
Minimum 6 feet above kiln top
Damper
Metal plate
Control airflow
At chimney base
Updraft kiln operation: 1) Load kiln with dried bricks (open lattice stacking). 2) Brick up loading door (temporary mortar). 3) Start small fire in firebox (water smoking phase: 200-400°F). 4) Maintain low temperature for 6-12 hours (drives out remaining moisture). 5) Gradually increase fire (100°F per hour). 6) Reach full temperature: 1800-2100°F. 7) Hold at full temperature for 6-12 hours (soaking). 8) Close damper and fire door (begin cooling). 9) Cool slowly over 24-48 hours. 10) Open loading door and unload.
Chapter 4: Brick Grading
Grade
Position in Kiln
Color
Hardness
Ring
Use
Clinker (overburned)
Nearest fire
Dark, vitrified
Very hard
Sharp ring
Paving, drainage
First grade
Middle of kiln
Uniform red/brown
Hard
Clear ring
Structural walls, facing
Second grade
Upper/outer areas
Lighter red
Moderate
Moderate ring
Interior walls, fill
Salmon (underburned)
Farthest from fire
Pink/salmon
Soft
Dull thud
Interior only, not weather-exposed
Unfired (failure)
Extreme outer edge
Original clay color
Very soft
No ring
Re-fire or discard
Chapter 5: Fuel and Firing Schedule
Phase
Temperature
Duration
Fuel Rate
Purpose
Water smoking
200-400°F
6-12 hours
Low
Remove remaining moisture
Dehydration
400-1000°F
6-12 hours
Moderate
Chemical water release
Oxidation
1000-1600°F
4-8 hours
High
Burn out organic matter
Vitrification
1600-2100°F
6-12 hours
Maximum
Sinter clay particles
Soaking
Hold at peak
4-8 hours
Steady
Ensure uniform heating
Cooling
Gradual decrease
24-48 hours
None (close vents)
Prevent thermal shock
Reference Card
Dry bricks completely before firing (bricks with moisture inside will crack or explode when heated; air-dry bricks for 1-3 weeks until completely dry throughout). 2. Raise temperature slowly (increasing temperature too fast causes thermal shock; bricks crack, and the entire kiln load can be ruined; 100°F per hour is safe). 3. The water smoking phase is critical (the first 6-12 hours at low temperature drive out remaining moisture; rushing this phase destroys bricks). 4. Stack with gaps for circulation (bricks stacked in an open lattice with 1/2-1 inch gaps allow hot gases to reach every brick; solid stacking produces uneven firing). 5. Grade bricks after firing (bricks nearest the fire are hardest; bricks farthest away are softest; each grade has appropriate uses). 6. A clear ring means a good brick (tap a fired brick with a hammer; a clear, bell-like ring indicates proper firing; a dull thud means underfired). 7. Cool slowly to prevent cracking (opening a hot kiln causes thermal shock; allow 24-48 hours of gradual cooling before opening). 8. A clamp kiln needs no permanent structure (stacking bricks over fire channels and plastering with mud creates a single-use kiln; it is the simplest way to fire bricks with no infrastructure).