Sovereignty Module: Forge the Fastener
Complete Blacksmithing: Hardware and Fasteners: From Bar to Bolt
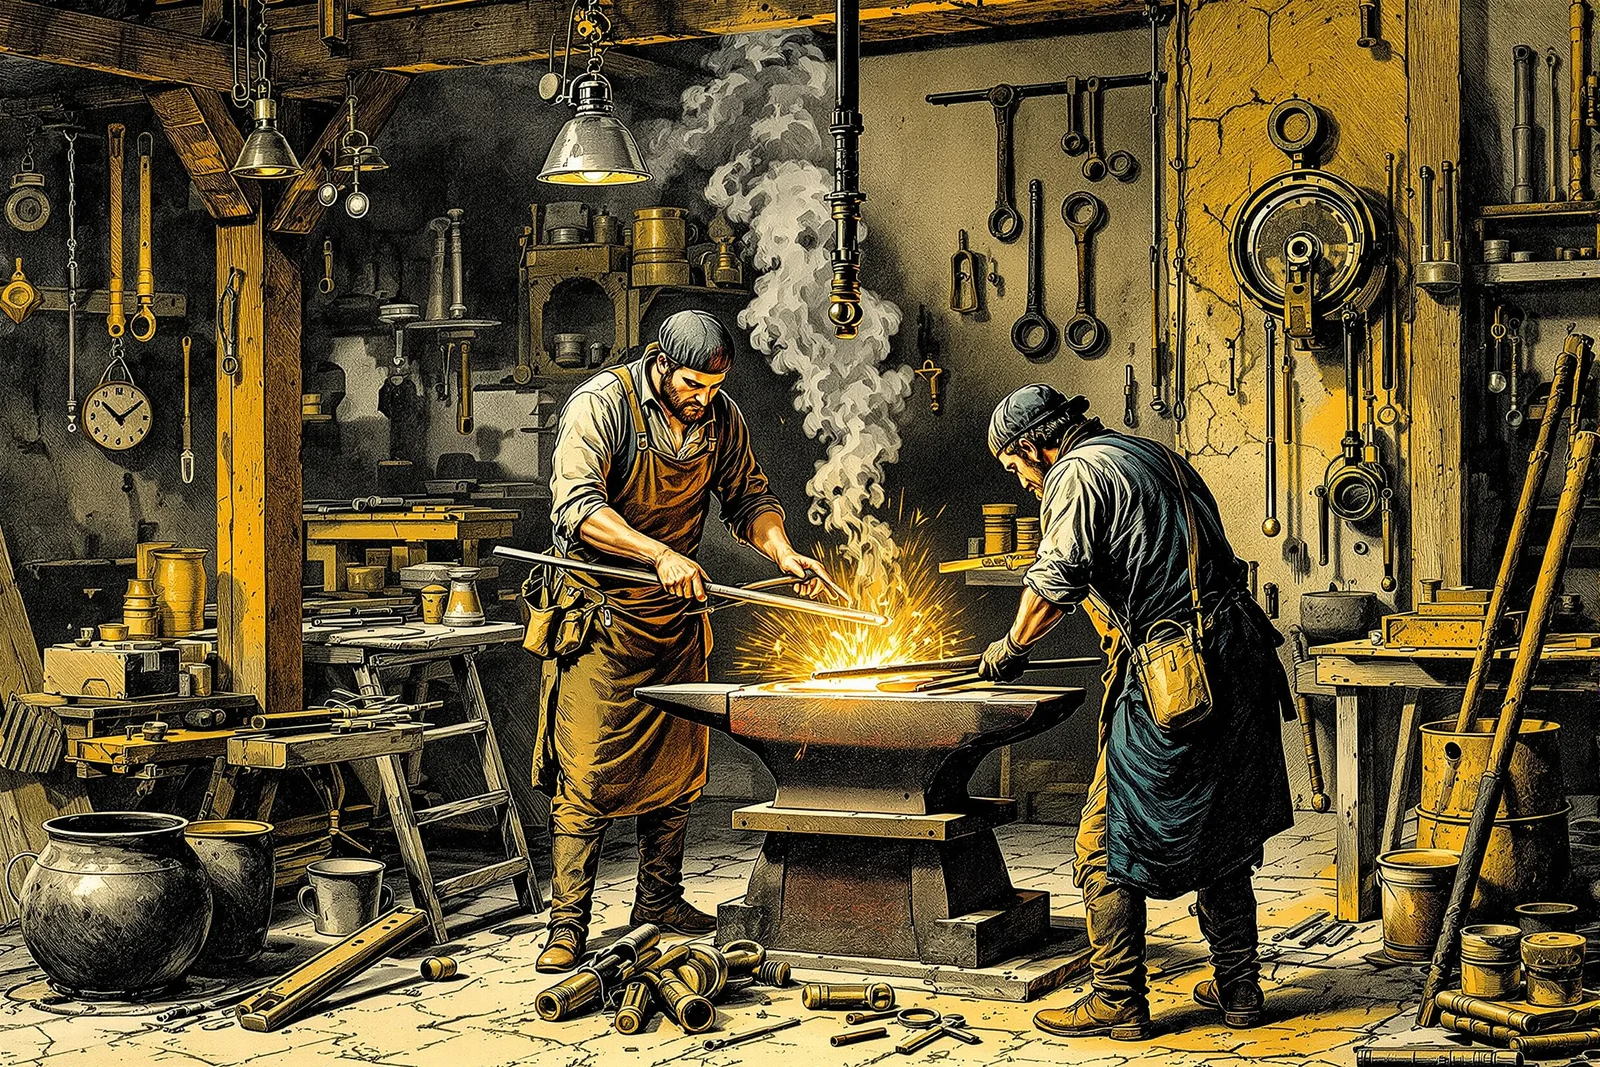
Nails, hinges, hooks, and fasteners hold civilization together. This campaign covers nail making, hinge forging, bolt and nut production, chain making, and hardware design.
Chapter 1: Nail Making
| Nail Type | Length | Use | Stock Size | Difficulty |
|---|---|---|---|---|
| Tack | 1/2-3/4 inch | Upholstery, leather | 1/8 inch square | Low |
| Finish nail | 1-2 inches | Trim, cabinetry | 3/16 inch square | Low |
| Common nail | 2-4 inches | Framing, general | 1/4 inch square | Low |
| Spike | 4-8 inches | Heavy timber | 3/8 inch square | Moderate |
| Clinch nail | 2-4 inches | Boat building | 1/4 inch square | Low |
| Horseshoe nail | 2-2.5 inches | Farriery | Special taper | Moderate |
Nail forging process: 1) Cut mild steel rod to length (nail length + 1/2 inch for head). 2) Heat to bright orange. 3) Taper point on anvil (four-sided taper, rotating 90 degrees between strikes). 4) Draw point to desired sharpness. 5) Insert in nail header (plate with hole matching nail shank). 6) Nail protrudes above header by 1/4-3/8 inch (head material). 7) Flatten protruding end with hammer (forms head). 8) Shape head: flat (common), rose (decorative), or countersunk. 9) Drop nail through header. 10) Quench in water. 11) A skilled smith can forge 200-400 nails per day.
Chapter 2: Hinge Forging
| Hinge Type | Complexity | Strength | Use | Decorative Potential |
|---|---|---|---|---|
| Strap hinge | Low | Very good | Gates, barn doors | High |
| Butt hinge | Moderate | Good | Interior doors | Low |
| Pintle and gudgeon | Low | Very good | Heavy doors, gates | Moderate |
| T-hinge | Low-moderate | Good | Chests, cabinets | Moderate |
| Butterfly hinge | Moderate | Moderate | Decorative, cabinets | Very high |
Strap hinge forging: 1) Start with flat bar (1/4 x 1.5 inches, 12-18 inches long). 2) Heat one end to bright orange. 3) Forge eye (barrel) by wrapping end around mandrel. 4) Eye must be round and consistent (pin fits through). 5) Flatten and shape strap portion. 6) Punch or drill mounting holes. 7) Forge matching hinge half. 8) Pin: round rod that fits through both eyes. 9) Peen one end of pin to prevent removal (or use cotter pin). 10) Decorative options: scroll ends, leaf shapes, hammered texture.
Chapter 3: Bolts and Nuts
| Fastener | Stock | Difficulty | Tools Needed |
|---|---|---|---|
| Carriage bolt | Round rod | Moderate | Die, header |
| Square bolt | Square rod | Low-moderate | Die, header |
| Lag bolt/screw | Round rod | Moderate | Die, point taper |
| Nut (square) | Square bar | Moderate | Tap, drill |
| Washer | Flat bar | Low | Punch, drift |
| Cotter pin | Wire | Very low | Pliers |
Thread cutting: 1) Forge bolt shank to correct diameter for desired thread. 2) Thread with die (held in die stock). 3) Apply cutting oil. 4) Turn die clockwise, back off frequently to clear chips. 5) For nuts: drill hole in square bar stock. 6) Tap hole with matching tap. 7) Cut nut from bar stock. 8) Hand-cut threads are coarser than machine threads but fully functional. 9) Matching tap and die sets ensure compatibility.
Chapter 4: Chain Making
| Chain Type | Link Shape | Strength | Use | Difficulty |
|---|---|---|---|---|
| Welded chain | Oval links | Very high | Heavy duty, anchoring | High |
| Twisted link | Figure-8 | Good | Light duty, decorative | Moderate |
| S-hook chain | S-shaped links | Moderate | Hanging, pot racks | Low |
| Trace chain | Long oval links | Good | Draft animals | Moderate |
Welded chain link process: 1) Cut rod to consistent lengths (each link). 2) Heat one end of rod. 3) Bend around mandrel to form oval. 4) Overlap ends. 5) Thread through previous link before closing. 6) Heat overlapping ends to welding temperature (white heat). 7) Forge weld the joint (hammer quickly and firmly). 8) Shape link on mandrel. 9) Each link must be welded before adding the next. 10) Test each weld by pulling (failed welds are dangerous).
Chapter 5: Hooks, Brackets, and Hardware
| Item | Stock | Difficulty | Common Uses |
|---|---|---|---|
| S-hook | Round rod, 3/8 inch | Very low | Hanging pots, tools |
| J-hook | Round rod, 3/8 inch | Very low | Wall hanging |
| Shelf bracket | Flat bar, 1/4 x 1 inch | Low | Shelving support |
| Gate latch | Flat bar | Low-moderate | Gate closure |
| Door handle | Round or square bar | Moderate | Door pull |
| Fireplace crane | Round/square bar | Moderate-high | Cooking over fire |
| Pot hook (trammel) | Flat bar | Moderate | Adjustable pot hanging |
Reference Card
- Nails are the smith's bread and butter (a blacksmith who can forge nails quickly and consistently will never lack for work; nail making is the fundamental forging exercise). 2. The nail header is essential (a plate with a hole that holds the nail shank while you forge the head; without a header, nail making is nearly impossible). 3. Four-sided taper makes the best point (rotate the nail stock 90 degrees between each hammer blow to create an even, centered point). 4. Every hinge needs a consistent eye (the barrel of the hinge must be round and uniform so the pin rotates freely; practice wrapping around a mandrel). 5. Thread cutting requires matching tools (a tap cuts internal threads in a nut; a die cuts external threads on a bolt; they must be the same size and pitch). 6. Every chain link must be welded (an unwelded link is a failure point; test every weld by pulling before adding the next link). 7. S-hooks are the most useful hardware (an S-hook takes 30 seconds to forge and has a hundred uses; keep a bucket of them in the shop). 8. Consistency matters more than beauty (hardware that is uniform in size and shape functions better than decorative pieces that do not match).