Sovereignty Module: Shape the Vessel
Complete Hand-Built Pottery: Coil, Slab, and Pinch Methods Without a Wheel
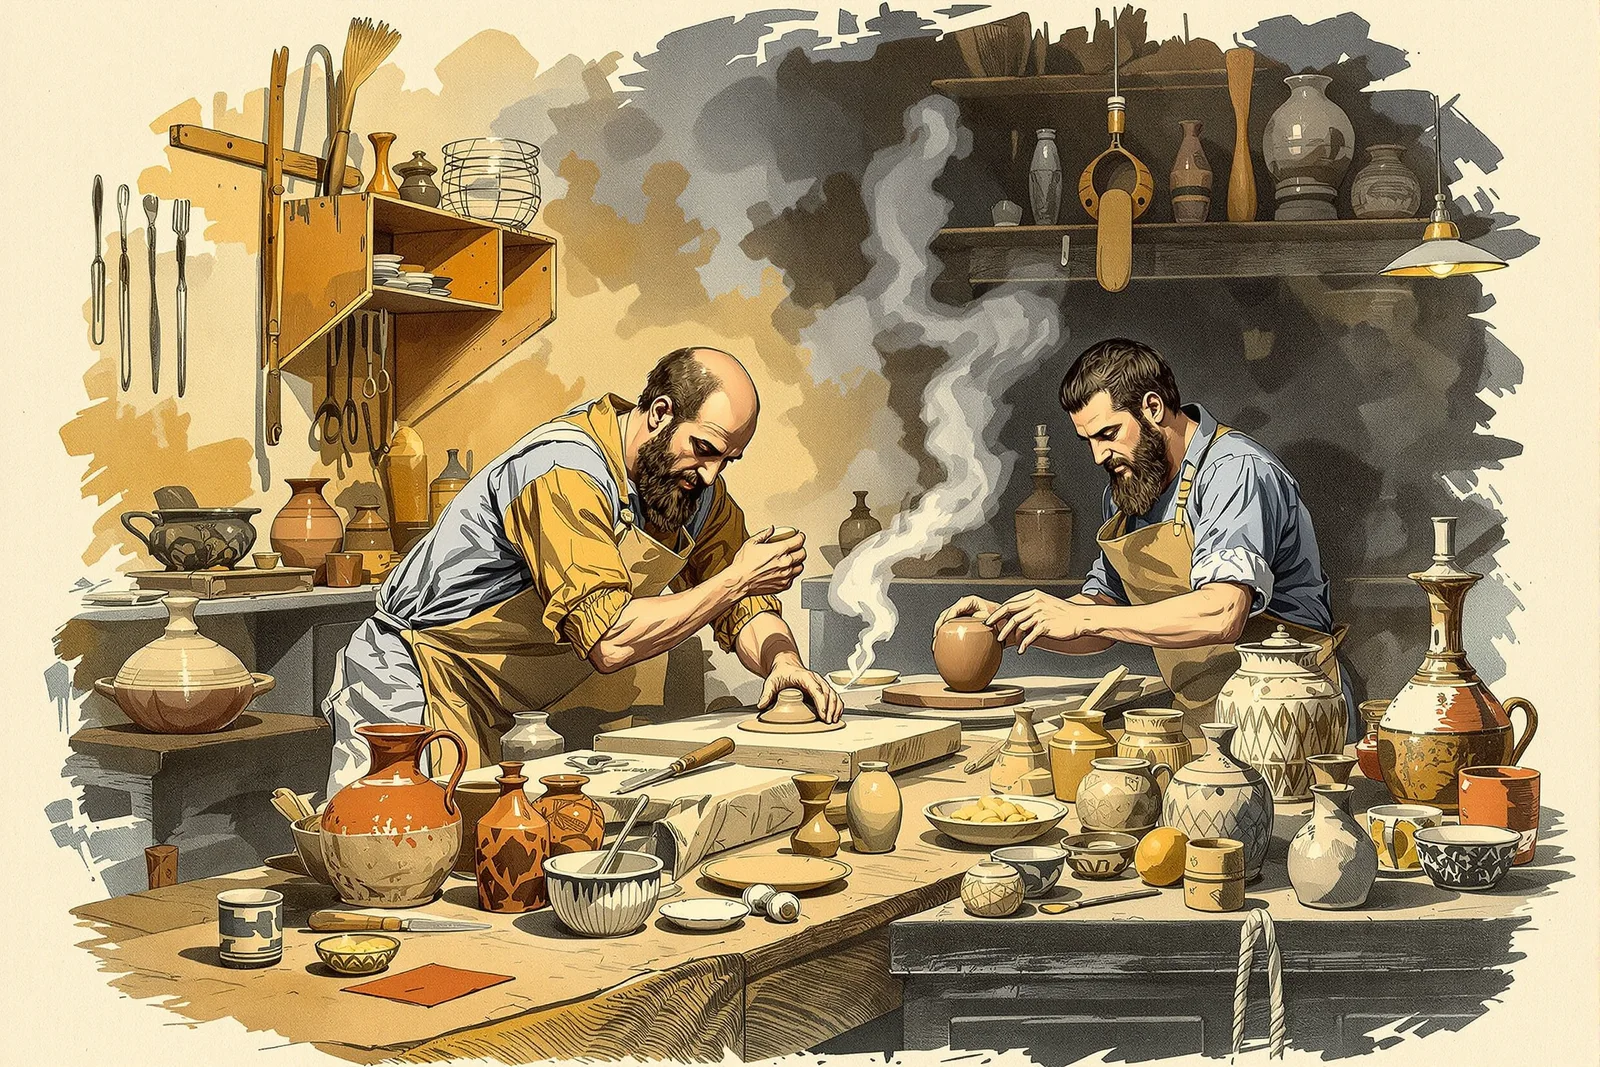
Pottery provides cooking vessels, water storage, and food preservation. This campaign covers hand-building methods that require no wheel, no kiln (pit-firing), and no purchased materials.
Chapter 1: Finding and Preparing Clay
| Step | Action | Test | Details |
|---|---|---|---|
| 1 | Locate clay deposits | Dig below topsoil near streams, road cuts, hillsides | Clay = smooth, sticky when wet, holds shape |
| 2 | Dig and collect raw clay | - | Remove rocks, roots, organic matter |
| 3 | Dry completely, crush to powder | - | Speeds processing, easier to mix |
| 4 | Slake in water (soak 24-48 hours) | - | Clay dissolves, impurities settle |
| 5 | Screen through mesh (window screen) | - | Removes stones, debris |
| 6 | Let settle, pour off excess water | - | Clay settles to bottom |
| 7 | Dry to workable consistency | Ball test: form ball, drop from 3 feet | Should flatten without cracking = ready |
| 8 | Add temper (sand, crushed shell, or grog) | 15-25% by volume | Prevents cracking during drying and firing |
Temper options: Sharp sand (most common, free), crushed shell (traditional, adds calcium), grog (crushed fired pottery — best for thermal shock resistance), chopped grass/fiber (burns out, creates porous lightweight pottery).
Chapter 2: Hand-Building Methods
| Method | Skill Level | Best For | Wall Thickness | Size Limit |
|---|---|---|---|---|
| Pinch pot | Beginner | Small bowls, cups | 1/4-3/8 inch | 6 inches diameter |
| Coil building | Intermediate | Large vessels, any shape | 1/4-1/2 inch | Unlimited (build in stages) |
| Slab building | Intermediate | Flat-sided items, boxes, tiles | 1/4-1/2 inch | Limited by slab size |
| Paddle and anvil | Advanced | Large round vessels | 1/4-3/8 inch | Very large (storage jars) |
| Mold pressing | Beginner | Bowls, plates (consistent shape) | 1/4-3/8 inch | Limited by mold size |
Chapter 3: Coil Building (Most Versatile Method)
| Step | Action | Details | Common Errors |
|---|---|---|---|
| 1 | Roll coils (rope shapes) 1/2-3/4 inch diameter | Roll on flat surface with palms | Uneven thickness, too thin |
| 2 | Form base (flat disk or coiled spiral) | 1/4-3/8 inch thick, on cloth/board | Too thin = cracks. Too thick = doesn't dry evenly. |
| 3 | Score and slip joining surfaces | Cross-hatch with fork/stick, apply slip (liquid clay) | Skipping this = joints fail during drying/firing |
| 4 | Place first coil on base edge | Press firmly, blend inside joint | Coil not firmly attached = separates |
| 5 | Add coils one at a time, blend joints | Smooth inside with finger/tool, outside optional | Building too fast (weight collapses wet walls) |
| 6 | Let stiffen between sessions (leather-hard) | Cover with damp cloth between work sessions | Too wet = slumps. Too dry = won't bond. |
| 7 | Shape walls (push out for wider, push in for narrower) | Support opposite side with hand | Uneven pressure = thin spots |
| 8 | Smooth exterior (scrape, smooth, burnish) | Smooth stone, spoon, or rib tool | Burnishing at leather-hard = waterproof surface |
Chapter 4: Drying (Critical Phase)
| Rule | Reason | Method |
|---|---|---|
| Dry SLOWLY (1-3 weeks) | Fast drying = cracking (outside shrinks faster than inside) | Cover loosely with plastic, open gradually |
| Dry EVENLY | Uneven drying = warping, cracking | Rotate daily, cover thin areas |
| Dry COMPLETELY | Any moisture in firing = steam explosion | Bone dry = same color throughout, no cool spots |
| Protect from drafts | Direct airflow = uneven drying | Indoor, still air, covered |
| Thicker walls = longer drying | Moisture trapped in center | 1/2 inch walls: 2-3 weeks minimum |
Leather-hard stage: Clay is firm but still slightly damp (like leather). Best time for: trimming, adding handles, carving decoration, burnishing. Too wet = deforms when handled. Too dry = can't attach or carve.
Chapter 5: Pit Firing (No Kiln Required)
| Step | Action | Temperature | Time | Details |
|---|---|---|---|---|
| 1 | Pre-heat pottery near fire (warm slowly) | 100-200°F | 1-2 hours | Prevents thermal shock. Place near (not in) fire. |
| 2 | Dig pit (or build above-ground fire ring) | - | - | 2-3 feet deep, 3-4 feet diameter |
| 3 | Layer: fuel → pottery → fuel → pottery → fuel | - | - | Surround each piece with fuel (wood, dung, straw) |
| 4 | Light fire from top (let burn down) | 1,200-1,600°F | 2-6 hours | Top-lighting = slower, more even heat |
| 5 | Maintain fire (add fuel as needed) | Peak: 1,200-1,600°F | 2-4 hours at peak | Higher temp = harder pottery |
| 6 | Let cool completely in pit (DO NOT REMOVE HOT) | Cooling: 6-12 hours | Overnight | Thermal shock = cracking |
| 7 | Remove, brush off ash, inspect | - | - | Tap: ring = well-fired. Thud = underfired. |
Pit-fired pottery: porous (not waterproof without additional treatment). Waterproofing options: burnishing before firing (polishes surface closed), pine resin coating after firing, milk paint (casein) fired on, or repeated use with fatty foods (oils seal pores).
Chapter 6: Pottery Applications
| Item | Method | Size | Use | Special Requirements |
|---|---|---|---|---|
| Cooking pot | Coil, round bottom | 1-5 gallons | Cooking over fire | Temper with sand/grog (thermal shock resistance) |
| Water storage jar | Coil, large | 5-20 gallons | Water storage | Burnish or seal interior (waterproofing) |
| Bowl | Pinch or coil | 6-12 inches | Eating, mixing | Smooth interior |
| Cup/mug | Pinch | 3-4 inches | Drinking | Add handle at leather-hard stage |
| Oil lamp | Pinch, small | 3-4 inches | Lighting | Shallow dish with pinched spout for wick |
| Pipe (water/drainage) | Coil, cylindrical | 3-6 inch diameter | Plumbing | Join sections with slip, fire together |
| Tiles (roofing/flooring) | Slab | 6×6 to 12×12 inches | Building | Uniform thickness, dry flat |
| Crucible (metal melting) | Thick coil | 4-6 inches | Metalworking | Heavy temper, thick walls (withstands extreme heat) |
Reference Card
- Clay test: wet soil, roll into pencil-thin rope. If it bends without breaking = good clay. Add 15-25% sand temper.
- Coil building: score + slip every joint. Build slowly (let stiffen between sessions). Blend inside joints.
- Dry SLOWLY (1-3 weeks). Cover loosely. Rotate daily. Bone dry before firing (no cool spots when touched to lip).
- Pit firing: pre-heat pottery 1-2 hours near fire first. Then fire 2-6 hours at 1,200-1,600°F. Cool overnight.
- Thermal shock resistance: add sand or grog temper (25%). Round bottoms better than flat for cooking pots.
- Waterproofing: burnish at leather-hard stage (rub with smooth stone until glossy). Seals surface pores.
- Tap test after firing: clear ring = well-fired. Dull thud = underfired (weak, porous).
- Pottery is the foundation of food storage, cooking, and water management. Master this skill early.