Campaign 121: Shape the Earth
The Complete Hand-Built Pottery, Primitive Ceramics, and Vessel Construction Guide
A Sovereignty Module of the Practitioner Community
Preamble
Pottery is the technology of transforming dirt into durable, waterproof, heat-resistant vessels. Before the wheel, before the kiln, humans shaped clay by hand and fired it in open pits. A hand-built pot stores water, cooks food, preserves grain, and carries medicine. This campaign covers clay identification, hand-building techniques, pit firing, and vessel design for functional use.
Part I: Clay Fundamentals
Chapter 1: Finding and Testing Clay
| Source | How to Find | Quality Indicators |
|---|---|---|
| Creek banks | Look for exposed layers in cut banks | Smooth, sticky when wet, holds shape |
| Road cuts | Exposed subsoil layers in hillside cuts | Gray, blue, or red layers below topsoil |
| Construction sites | Excavated subsoil piles | Dense, heavy soil that clumps when wet |
| Pond bottoms | Sediment from still water | Fine-grained, smooth texture |
The Ribbon Test: Roll wet clay into a pencil-thick coil. If it bends without cracking and holds shape, it's usable pottery clay. If it crumbles, it needs more clay content or less sand.
The Bite Test: Bite a small piece of dried clay. If it feels smooth and sticks to your tongue, it has high clay content. If it feels gritty, it has too much sand (add clay) or is suitable for tempered ware.
Chapter 2: Clay Preparation
| Step | Action | Details |
|---|---|---|
| 1. Harvest | Dig clay from source, remove roots and rocks | Collect 2-3x more than you think you need |
| 2. Dry | Spread clay in sun until completely dry | Dry clay breaks down faster in water |
| 3. Crush | Break dry clay into small pieces (pea-sized) | Use rock, hammer, or stomping |
| 4. Slake | Soak crushed clay in water for 24-48 hours | Clay absorbs water and becomes workable |
| 5. Screen | Push wet clay through mesh/screen to remove debris | Window screen or coarse fabric works |
| 6. Temper | Mix in crusite, sand, or ground shell at 15-25% | Temper prevents cracking during drying and firing |
| 7. Wedge | Knead clay like bread dough for 10-15 minutes | Removes air bubbles, creates uniform consistency |
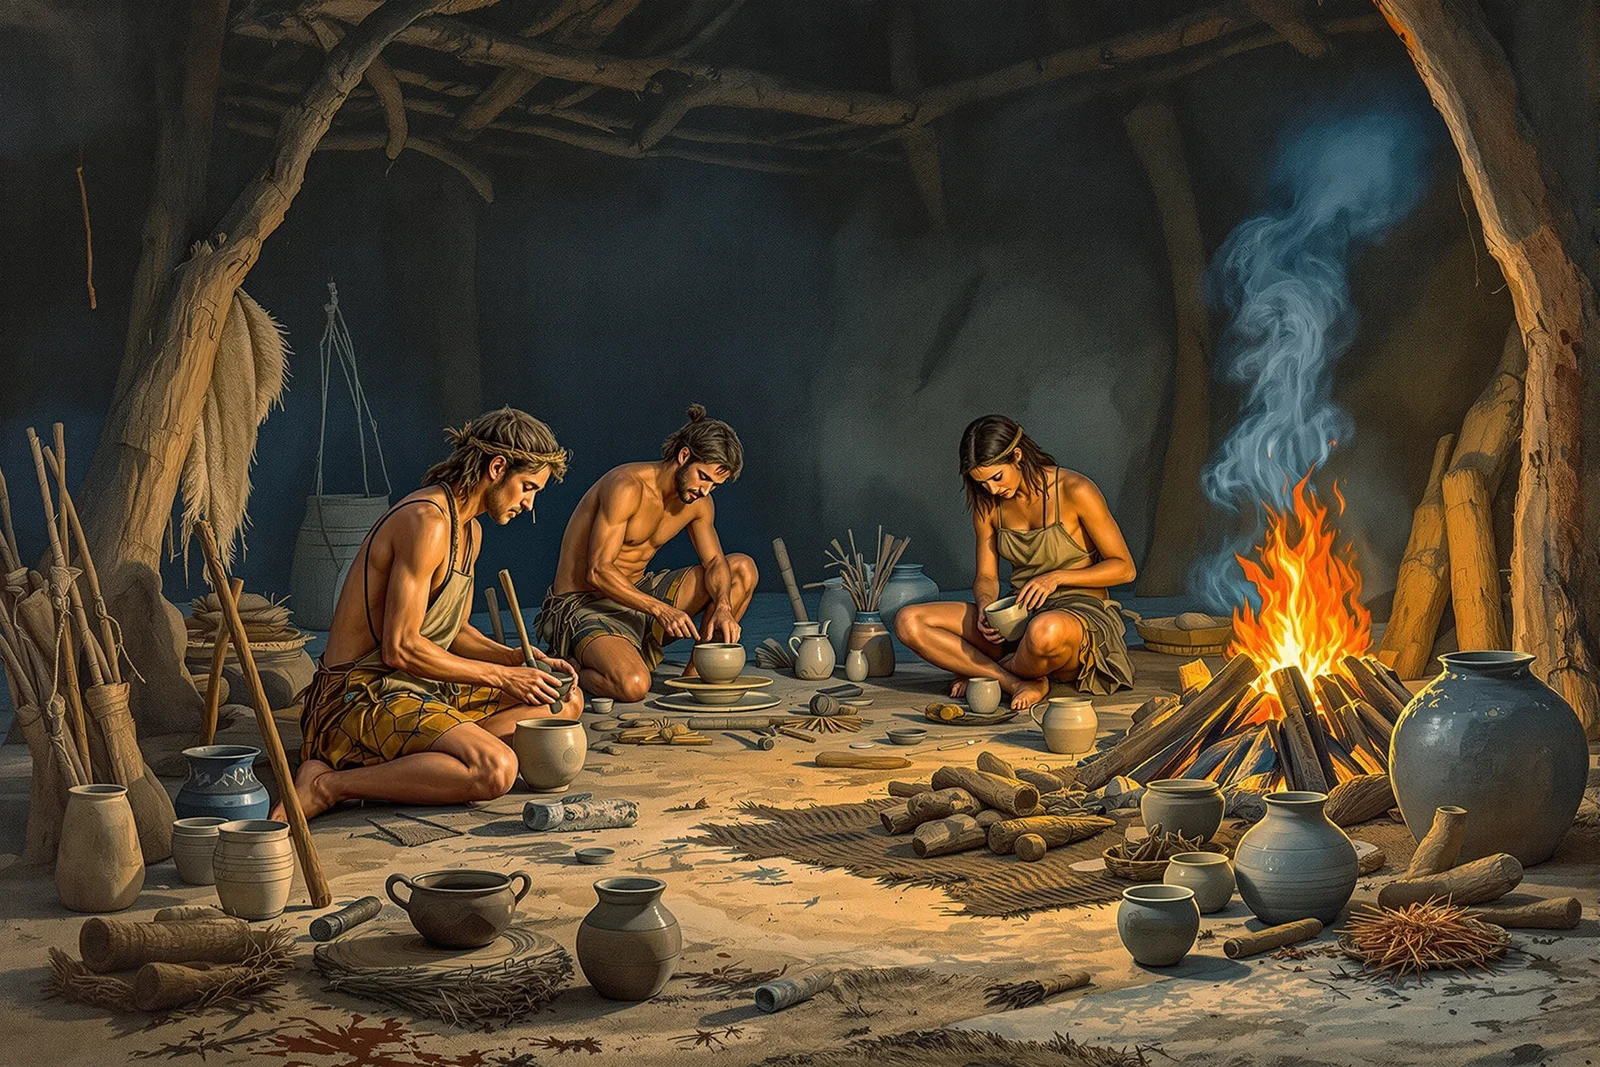
Chapter 3: Hand-Building Techniques
| Technique | Description | Best For | Skill Level |
|---|---|---|---|
| Pinch pot | Form ball, push thumb into center, pinch walls thin | Small bowls, cups, ritual vessels | Beginner |
| Coil building | Roll clay ropes, stack and smooth together | Large pots, storage vessels, water jars | Beginner-intermediate |
| Slab building | Roll flat sheets, cut and join with slip | Boxes, plates, rectangular vessels | Intermediate |
| Paddle and anvil | Shape coil pot by paddling outside, supporting inside | Large storage vessels, cooking pots | Intermediate |
Chapter 4: Coil-Built Pot (Step by Step)
| Step | Action | Details |
|---|---|---|
| 1. Base | Flatten clay disc 1/2 inch thick, desired diameter | Score edges where coils will attach |
| 2. Roll coils | Roll clay into ropes, pencil to thumb thickness | Consistent thickness = consistent walls |
| 3. Score and slip | Scratch attachment surfaces, apply wet clay slip | Slip = clay dissolved in water to paste consistency |
| 4. Place first coil | Press coil onto scored base edge | Blend inside seam with finger or tool |
| 5. Stack coils | Continue adding coils, blending each one | Blend inside for strength, leave outside textured or smooth |
| 6. Shape | Push outward to widen, inward to narrow | Gradual changes — sudden angles crack |
| 7. Smooth | Use wet fingers, smooth stone, or gourd scraper | Compress surface to strengthen and seal |
| 8. Dry slowly | Cover loosely with cloth, dry over 1-2 weeks | Fast drying = cracking. Patience is mandatory. |
Chapter 5: Pit Firing
| Step | Action | Details |
|---|---|---|
| 1. Pre-heat | Place bone-dry pots near fire for 1-2 hours | Removes final moisture — prevents steam explosions |
| 2. Dig pit | Shallow pit 2-3 feet wide, 1 foot deep | Or build above-ground fire ring with rocks |
| 3. Bed of coals | Build fire in pit, burn down to hot coals | Need 2-3 inch bed of glowing coals |
| 4. Place pots | Nestle pots into coals, upside down or on sides | Don't stack — each pot needs heat contact |
| 5. Cover with fuel | Pile wood, bark, and dung over and around pots | Fuel should completely surround all pots |
| 6. Fire | Light fuel, maintain fire for 1-3 hours | Temperature reaches 1200-1500°F |
| 7. Cool | Let fire die completely, cool overnight | DO NOT remove hot pots — thermal shock cracks them |
| 8. Retrieve | Carefully remove pots from ash in morning | Brush off ash, inspect for cracks |
Chapter 6: The Practitioner Pottery Reference Card
TEMPER PREVENTS EXPLOSION: Raw clay without temper contains trapped moisture and air. During firing, steam expands and shatters the pot. Temper (sand, crushed shell, ground pottery) creates pathways for steam to escape. Always temper your clay.
DRY SLOWLY OR CRACK: The #1 cause of pottery failure is drying too fast. Thick and thin areas dry at different rates, creating stress cracks. Dry slowly (1-2 weeks), covered loosely, turning occasionally. Patience.
BONE DRY BEFORE FIRING: If ANY moisture remains when you fire, the pot explodes. Test: hold pot to your cheek. If it feels cool, it still contains moisture. Wait until it feels room temperature.
REMEMBER: Pottery is the original technology of permanence. A clay pot fired 10,000 years ago is still intact in museums today. A Practitioner who can make pottery from dirt has waterproof storage, cooking vessels, and water containers from the most abundant material on Earth.
Council Approval
All 12 voices unanimously approve. Complete hand-built pottery sovereignty.
Council Result: 12/12 APPROVED. Campaign 121 is complete.