Sovereignty Module: Shape the Blade
Complete Knife Making: From Steel to Sheath
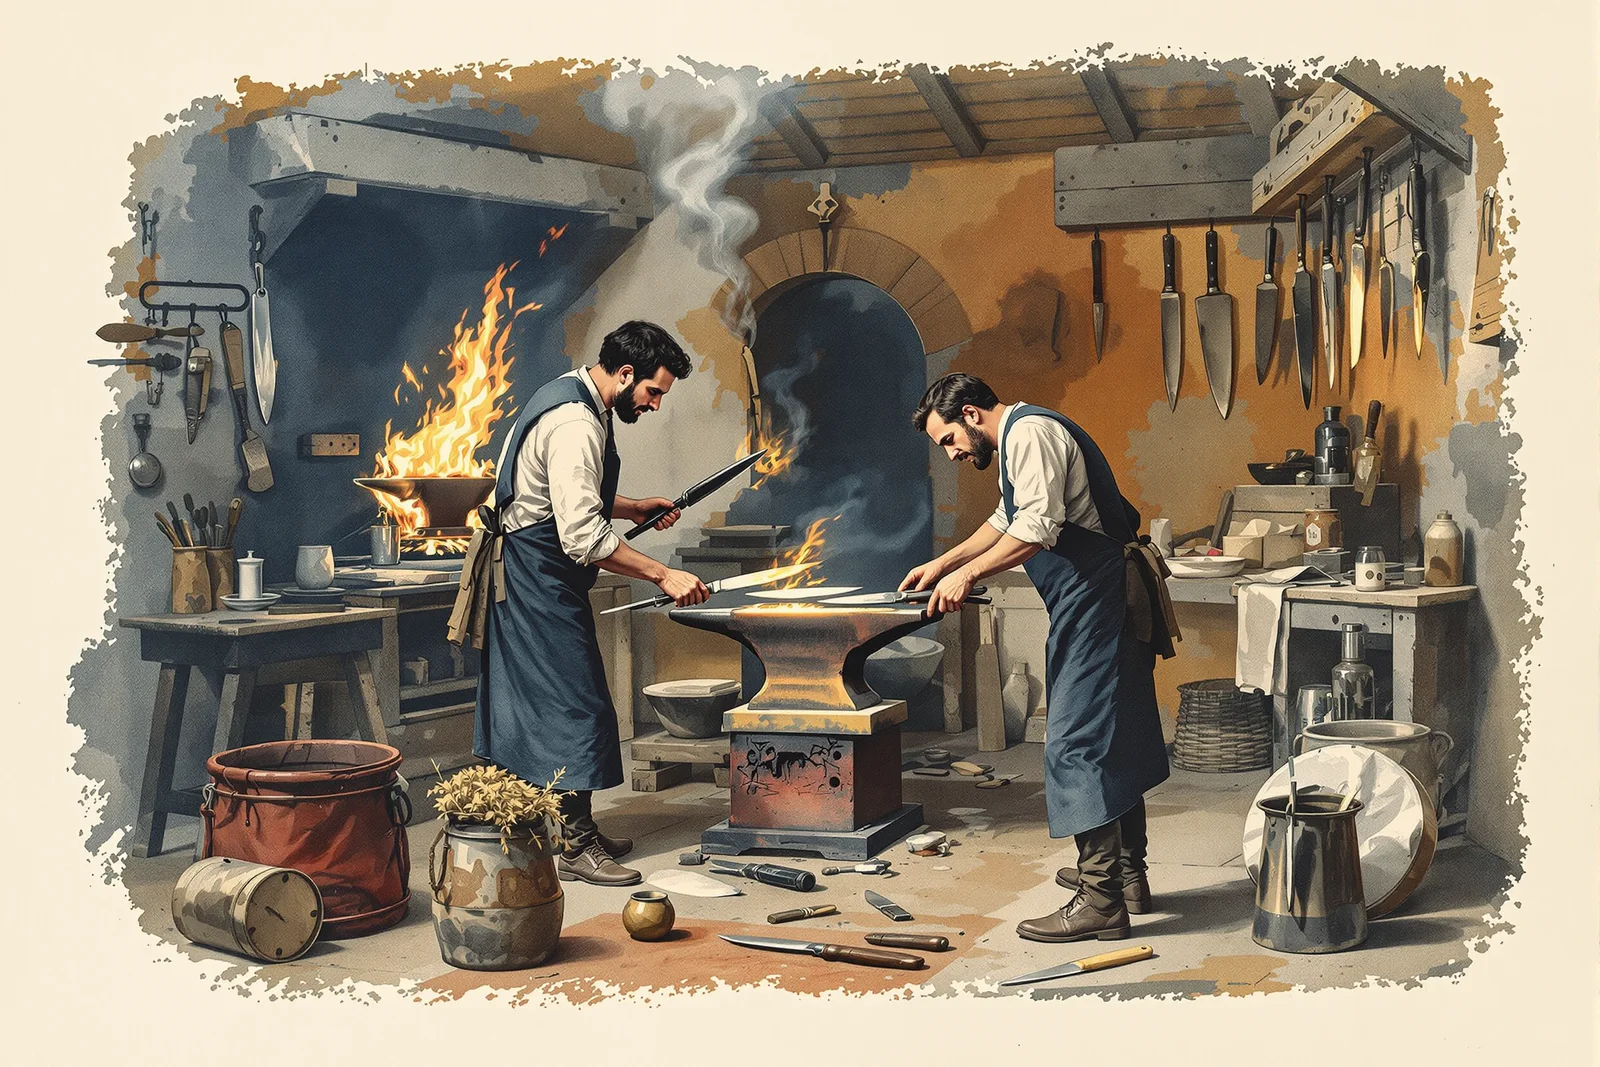
The knife is the most essential tool. This campaign covers steel selection, forging profiles, grinding bevels, heat treatment, handle construction, and sheath making.
Chapter 1: Blade Profiles
| Profile | Best For | Edge Geometry | Difficulty | Versatility |
|---|---|---|---|---|
| Drop point | General purpose, hunting | Convex or flat grind | Low-moderate | Excellent |
| Clip point (Bowie) | Piercing, general purpose | Flat or hollow grind | Moderate | Very good |
| Tanto | Piercing, prying | Flat grind, chisel | Low | Moderate |
| Spear point | Piercing, double-edge | Flat grind both sides | Moderate | Good |
| Trailing point | Skinning, slicing | Flat or convex grind | Moderate | Moderate |
| Sheepsfoot | Whittling, food prep | Flat grind | Low | Moderate |
| Nessmuk | Woodcraft, camp tasks | Convex grind | Moderate | Very good |
Chapter 2: Forging the Blade
Forging sequence: 1) Select steel (1075, 1084, or 1095 for beginners; old files work well). 2) Draw blade profile on paper (full-size template). 3) Heat steel to bright orange (1,600-1,700°F). 4) Draw out tang: hammer one end to tang dimensions. 5) Flatten blade area to approximate thickness (3/16 to 1/4 inch). 6) Taper blade toward edge (do not create final edge yet). 7) Shape profile: cut or grind to template shape. 8) Straighten: check for warps, correct while hot. 9) Normalize: heat to cherry red, air cool (repeat 3 times). 10) Normalizing refines grain structure for better heat treatment.
| Forging Step | Temperature | Tool | Purpose |
|---|---|---|---|
| Drawing tang | Bright orange | Hammer on anvil | Create handle attachment |
| Flattening blade | Bright orange | Hammer on anvil | Reduce to blade thickness |
| Tapering to edge | Orange to cherry | Hammer on anvil | Pre-shape cutting edge |
| Profiling | Cherry red or cold | Angle grinder, hacksaw | Final outline shape |
| Straightening | Cherry red | Hammer, anvil | Remove warps and twists |
| Normalizing | Cherry red | None (air cool) | Refine grain structure |
Chapter 3: Grinding and Bevels
| Grind Type | Cross Section | Cutting Ability | Edge Durability | Difficulty |
|---|---|---|---|---|
| Flat grind | Triangular (V) | Excellent | Good | Moderate |
| Hollow grind | Concave sides | Excellent (very thin) | Moderate (thin edge) | Moderate-high |
| Convex grind | Convex sides (apple seed) | Very good | Excellent | High |
| Scandinavian grind | Single bevel, flat | Very good | Very good | Low |
| Chisel grind | One side flat, one beveled | Good | Good | Low |
Grinding process: 1) Mark center line on spine (grind evenly from both sides). 2) Grind primary bevel: angle grinder, belt sander, or file. 3) Bevel angle: 15-20 degrees per side for general purpose. 4) Grind to within 1/32 inch of final edge (do not sharpen yet). 5) Leaving thick edge prevents warping during heat treatment. 6) Keep steel cool during grinding (dip in water frequently). 7) Overheating during grinding can ruin heat treatment. 8) Progress through grits: 60, 120, 220, 400 (for hand-finished look). 9) Final edge is ground after heat treatment.
Chapter 4: Heat Treatment
| Step | Temperature | Method | Result |
|---|---|---|---|
| Normalize (3x) | Cherry red (1,475°F) | Heat, air cool | Refined grain |
| Harden | Cherry red (1,475°F for 1084) | Quench in oil (fast) | Maximum hardness (60+ HRC) |
| Temper | 400°F (2 hours) | Oven or forge | Reduce to working hardness (58-60 HRC) |
| Test | N/A | Brass rod test, file test | Verify hardness |
Hardening and tempering: 1) Heat blade evenly to critical temperature (non-magnetic test with magnet). 2) When blade no longer attracts magnet, it is at critical temperature. 3) Quench in preheated oil (vegetable oil, canola, or commercial quench oil). 4) Quench edge-first, straight down (prevents warping). 5) Move blade gently in oil (do not swirl). 6) Hold in oil until cool enough to handle. 7) Clean blade immediately. 8) Temper within 1 hour: place in oven at 400°F for 2 hours. 9) Let cool in oven. 10) Repeat temper cycle once more for stress relief. 11) Test: file should skate across hardened edge (file cannot bite).
Chapter 5: Handle and Sheath
| Handle Material | Durability | Grip (wet) | Appearance | Difficulty |
|---|---|---|---|---|
| Hardwood (walnut, maple) | Very good | Good | Beautiful | Moderate |
| Micarta | Excellent | Excellent | Modern | Moderate |
| Antler/bone | Good | Very good | Rustic, traditional | Moderate |
| Birch bark (stacked) | Good | Excellent | Traditional | Moderate-high |
| Paracord wrap | Good | Very good | Tactical | Low |
| Leather (stacked) | Good | Good | Traditional | Moderate |
Handle construction (full tang): 1) Cut handle scales from chosen material. 2) Drill pin holes through tang and scales (match holes). 3) Rough-shape scales to approximate handle shape. 4) Epoxy scales to tang (both sides). 5) Insert pins (brass, copper, or stainless steel rod). 6) Clamp and let epoxy cure (24 hours). 7) Shape handle with rasp, file, and sandpaper. 8) Round edges for comfort. 9) Sand through grits: 80, 120, 220, 400. 10) Finish: oil (for wood), or leave as-is (for Micarta).
Reference Card
- The magnet test tells critical temperature (when steel stops attracting a magnet, it has reached the critical temperature for hardening; this is your quench point). 2. Quench in oil, not water (oil quenches more gently than water; water quenching causes cracking in most knife steels). 3. Temper immediately (as-quenched steel is glass-hard and can crack spontaneously; temper within one hour of quenching). 4. Do not grind the final edge before heat treatment (a thin edge warps and cracks during quenching; leave the edge 1/32 inch thick until after tempering). 5. Normalize three times (three normalizing cycles progressively refine the grain structure; this produces a tougher, more uniform blade). 6. Old files are excellent knife steel (files are high-carbon steel; anneal, forge to shape, and re-harden for an excellent knife). 7. A knife is only as good as its handle (a beautiful blade with an uncomfortable handle is a bad knife; spend time fitting the handle to your hand). 8. Every person needs a good knife (the knife is the most fundamental and versatile tool; a well-made knife serves for a lifetime).