Sovereignty Module: Spin the Clay
Complete Pottery Wheel Construction and Throwing: From Kickwheel to Vessel
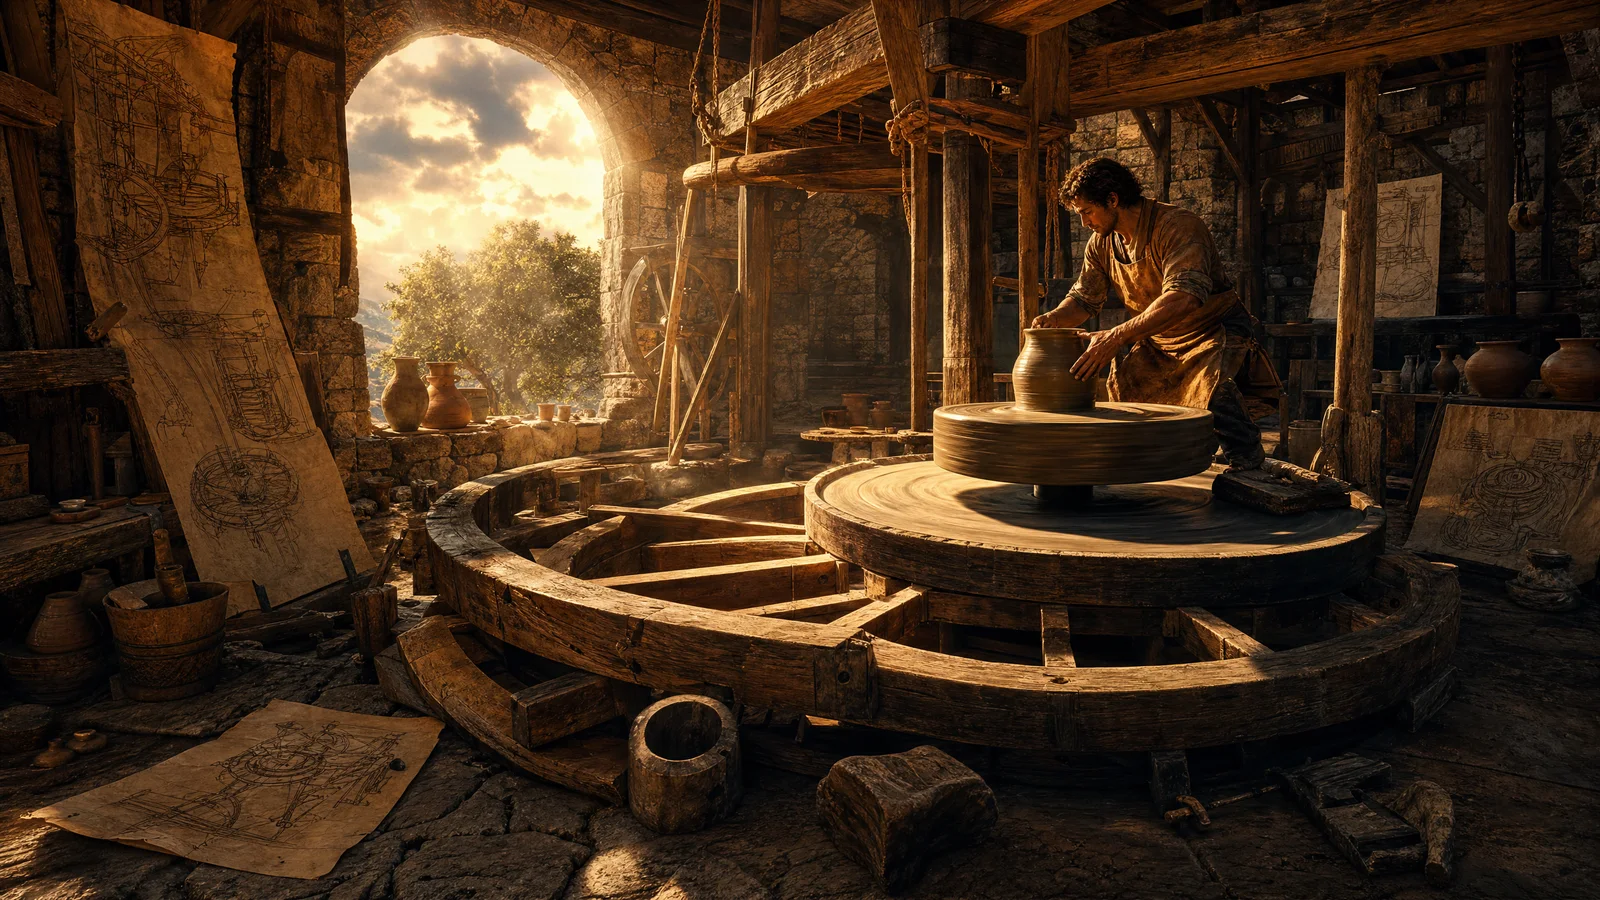
The pottery wheel revolutionized ceramic production. This campaign covers wheel construction, centering, throwing techniques, trimming, and advanced forms.
Chapter 1: Wheel Types
| Wheel Type | Difficulty to Build | Speed | Control | Materials | Best For |
|---|---|---|---|---|---|
| Slow wheel (tournette) | Very low | Low (hand-spun) | Good | Flat stone, pivot | Coil-building assist |
| Kickwheel | Moderate | Moderate-high | Very good | Wood, stone flywheel, axle | General throwing |
| Treadle wheel | Moderate-high | High | Excellent | Wood, crank mechanism | Production pottery |
| Electric wheel | N/A (purchased) | Variable | Excellent | Motor, controller | Modern production |
Kickwheel construction: 1) Flywheel: heavy, flat stone or concrete disc (50-100 lbs, 24-30 inch diameter). 2) Axle: steel rod or hardwood shaft (1-1.5 inch diameter, 30-36 inches long). 3) Bearing: axle sits in socket (greased hardwood, metal bushing, or bearing). 4) Frame: sturdy wooden frame holds bearing, supports seat. 5) Wheelhead: flat disc on top of axle (12-14 inches diameter, wood or plaster). 6) Seat: attached to frame at comfortable height. 7) Kick the flywheel with foot to spin. 8) Flywheel momentum keeps wheel spinning. 9) Heavier flywheel = more momentum = smoother spinning. 10) Center of flywheel must be perfectly balanced on axle.
Chapter 2: Clay Preparation
| Step | Purpose | Method | Time |
|---|---|---|---|
| Digging | Obtain raw clay | Dig from riverbank, hillside, or deposit | Varies |
| Slaking | Break down clay | Soak in water until dissolved | 1-3 days |
| Screening | Remove debris | Pour through mesh screen | 30 min |
| Settling | Separate clay from sand | Let settle, pour off water with fine clay | 1-2 days |
| Drying | Remove excess water | Spread on plaster or cloth | 1-3 days |
| Wedging (kneading) | Remove air bubbles, homogenize | Ram's head or spiral wedging | 10-15 min per batch |
Chapter 3: Centering and Opening
Centering: 1) Slam ball of clay firmly onto wet wheelhead. 2) Start wheel spinning (counterclockwise for right-handed). 3) Wet hands thoroughly (keep clay and hands wet at all times). 4) Brace elbows against body or legs (stability is key). 5) Push clay toward center with both hands. 6) Cone up: push clay upward into a cone shape. 7) Press cone back down into a dome. 8) Repeat coning 3-5 times (aligns clay particles, removes air). 9) Clay is centered when it does not wobble at any speed. 10) Centered clay feels smooth and still under your hands.
Opening: 1) With clay centered, press thumb or fingers into center of dome. 2) Push straight down (not at an angle). 3) Stop 1/4 to 3/8 inch from wheelhead (this is the floor thickness). 4) Open outward: pull fingers toward you to widen the opening. 5) Compress the floor with a rib or fingers (strengthens bottom). 6) You now have a thick-walled cylinder ready for pulling.
Chapter 4: Pulling Walls
| Pull | Purpose | Technique | Result |
|---|---|---|---|
| First pull | Thin walls from thick cylinder | Inside finger higher than outside, squeeze and lift | Taller, thinner cylinder |
| Second pull | Continue thinning | Same technique, lighter pressure | Even thinner walls |
| Third pull | Final thickness | Very light pressure, even speed | Uniform 1/4 inch walls |
| Shaping | Create final form | Gentle pressure inside (expand) or outside (narrow) | Bowl, vase, or pot shape |
| Rim finishing | Clean, even rim | Wet chamois or fingers smooth rim | Professional finish |
Pulling technique: 1) Place inside hand (fingers) inside the cylinder. 2) Place outside hand (fingers or knuckle) directly opposite. 3) Inside fingers should be slightly higher than outside. 4) Squeeze gently between inside and outside hands. 5) Slowly draw hands upward (from bottom to top). 6) Maintain even pressure throughout the pull. 7) Speed: slow and steady (rushing causes wobble). 8) Keep clay wet (dry clay drags and tears). 9) Each pull should thin walls by approximately 1/8 inch. 10) Three to four pulls typically reaches final thickness.
Chapter 5: Trimming and Finishing
Trimming: 1) Let thrown piece dry to leather-hard (firm but can still be carved). 2) Invert piece on wheelhead. 3) Center inverted piece (tap gently while spinning). 4) Secure with clay wads or chuck. 5) Use trimming tool (wire loop or sharp metal tool). 6) Trim excess clay from bottom and foot. 7) Create foot ring (raised ring on bottom). 8) Foot ring allows even drying and stable sitting. 9) Trim walls to even thickness if needed. 10) Sign or stamp bottom while leather-hard.
| Finishing Technique | Stage | Purpose | Method |
|---|---|---|---|
| Burnishing | Leather-hard | Smooth, shiny surface | Rub with smooth stone or spoon |
| Slip coating | Leather-hard | Color, smooth surface | Brush on liquid clay (slip) |
| Sgraffito | Leather-hard (over slip) | Decorative pattern | Scratch through slip to reveal clay |
| Incising | Leather-hard | Decorative pattern | Carve lines with pointed tool |
| Stamping | Leather-hard | Repeated pattern | Press carved stamp into surface |
| Glazing | Bisque-fired | Waterproof, decorative | Dip or brush on glaze, fire again |
Reference Card
- Centering is the foundation (if the clay is not perfectly centered, everything after will fail; spend time mastering centering before anything else). 2. Keep everything wet (dry clay on a spinning wheel creates friction that tears your work; keep hands, clay, and tools wet at all times). 3. Brace your elbows (stability comes from your body, not your hands; brace elbows against your body or legs for steady pressure). 4. Pull from the bottom up (always start your pull at the base and draw upward; pulling from the top stretches and thins unevenly). 5. Less pressure, more pulls (light pressure over multiple pulls produces more even walls than heavy pressure in one pull). 6. The flywheel stores energy (a heavy flywheel spins longer and smoother; invest in the heaviest flywheel you can build). 7. Wedge thoroughly (air bubbles in clay cause pots to explode in the kiln; wedge until the clay is completely homogeneous). 8. Trim at leather-hard (too wet and the piece deforms; too dry and the tool chatters; leather-hard is the perfect trimming stage).