Sovereignty Module: Forge the Hammer
Complete Hammer Making and Blacksmithing Striking Tools: From Bar to Head
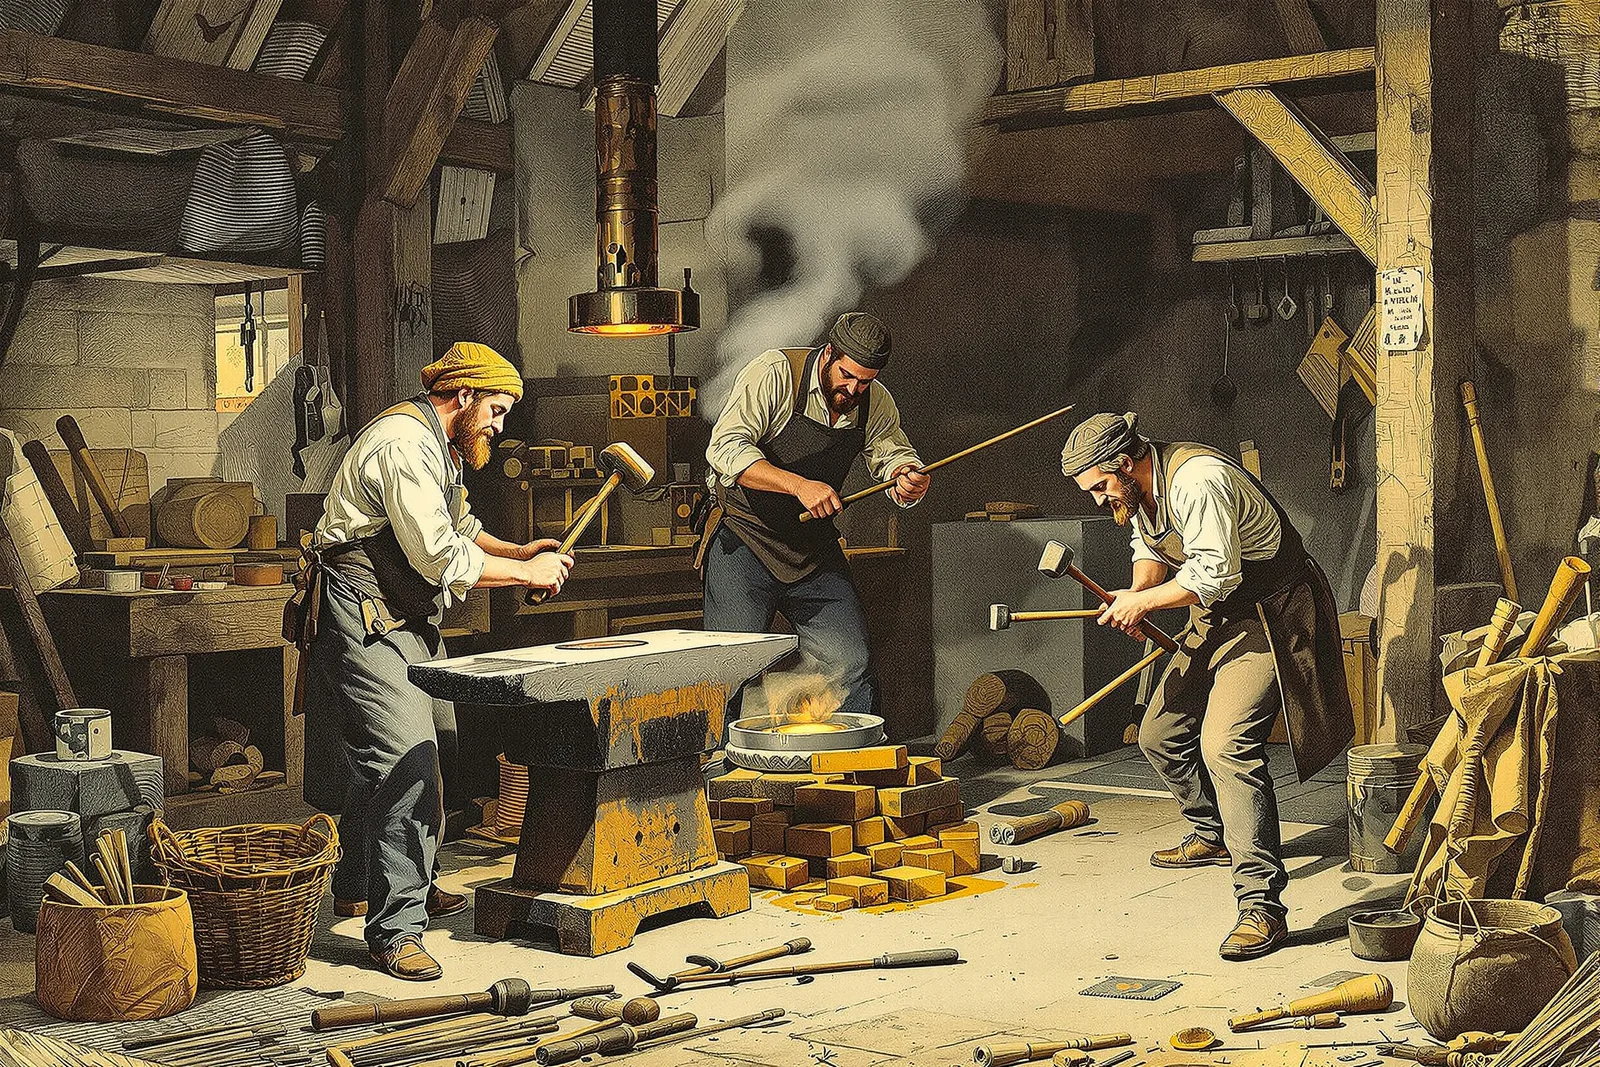
The hammer is the blacksmith's primary tool and the first tool a smith should learn to make. This campaign covers hammer head forging, eye punching, handle fitting, and specialty hammers.
Chapter 1: Hammer Types
| Type | Weight | Face Shape | Use | Difficulty |
|---|---|---|---|---|
| Cross-peen | 1.5-3 lbs | Flat face + cross peen | General forging, drawing out | Moderate |
| Ball-peen | 1-2 lbs | Flat face + ball | Riveting, peening, light forging | Moderate |
| Straight-peen | 1.5-3 lbs | Flat face + straight peen | Drawing out, spreading | Moderate |
| Rounding hammer | 2-4 lbs | Slightly crowned face + round | General forging, moving metal | Moderate |
| Sledge hammer | 4-12 lbs | Two flat faces | Heavy forging (striker's tool) | Moderate-high |
| Planishing hammer | 0.5-1 lb | Polished flat face | Smoothing, finishing | Low-moderate |
| Set hammer | 2-3 lbs | Flat face, handled | Flattening, setting shoulders | Moderate |
Chapter 2: Hammer Head Forging
Cross-peen hammer forging: 1) Start with 1.5 inch square bar, 4-5 inches long (for 2 lb hammer). 2) Heat center section to bright orange. 3) Punch eye hole: use eye punch (slot punch) from both sides. 4) Eye should be oval (1 inch x 5/8 inch typical). 5) Drift eye to final size with oval drift. 6) Shape face end: draw out slightly, round edges. 7) Shape peen end: draw out to wedge shape (cross-peen). 8) Heat treat face: harden and temper to dark straw/bronze. 9) Peen can be left softer (less likely to chip). 10) Grind face smooth and slightly crowned. 11) Handle: hickory, 14-16 inches for hand hammer.
| Step | Temperature | Tool | Critical Factor |
|---|---|---|---|
| Punch eye | Bright orange | Eye punch, drift | Center the eye, punch from both sides |
| Shape face | Orange | Hammer on anvil | Slight crown, smooth surface |
| Shape peen | Orange | Hammer on anvil | Even taper, centered |
| Heat treat face | Cherry red (non-magnetic) | Quench in oil | Harden face only, not eye |
| Temper face | 400-450°F (straw/bronze) | Heat from eye toward face | Watch tempering colors on polished face |
Chapter 3: Eye Punching and Drifting
Eye punching process: 1) Mark center of hammer head for eye location. 2) Heat to bright orange. 3) Place on bolster plate (plate with hole larger than punch). 4) Drive eye punch halfway through from one side. 5) Flip hammer head over. 6) Drive punch through from opposite side (holes meet in middle). 7) Insert oval drift (tapered mandrel matching handle shape). 8) Drive drift through to final eye size. 9) Eye should taper slightly from top to bottom. 10) This taper locks the handle (wedge effect).
| Eye Dimension | Small Hammer (1-2 lbs) | Medium Hammer (2-3 lbs) | Large Hammer (3-5 lbs) |
|---|---|---|---|
| Length | 7/8 inch | 1 inch | 1-1/4 inch |
| Width | 1/2 inch | 5/8 inch | 3/4 inch |
| Handle length | 12-14 inches | 14-16 inches | 16-18 inches |
| Handle material | Hickory | Hickory | Hickory or ash |
Chapter 4: Handle Fitting
Handle fitting process: 1) Select straight-grained hickory (no knots, grain runs length of handle). 2) Shape handle: oval cross-section, slight swell at grip end. 3) Taper top of handle to fit eye (snug fit, not forced). 4) Insert handle through eye from bottom. 5) Handle should protrude 1/4 inch above hammer head. 6) Cut kerf (saw slot) in protruding handle end. 7) Drive wooden wedge into kerf (expands handle in eye). 8) Drive metal wedge perpendicular to wooden wedge. 9) Cut flush with hammer head. 10) Soak head in linseed oil (swells wood, tightens fit).
Chapter 5: Specialty Hammers
| Hammer | Special Feature | Purpose | Forging Notes |
|---|---|---|---|
| Fuller (top) | Rounded edge | Create grooves, spread metal | Forge from 1.5 inch square, round one end |
| Flatter | Wide flat face | Smooth flat surfaces | Forge from 2 inch square, grind face flat |
| Hot cut (top) | Chisel edge | Cut hot metal on anvil | Forge from 1 inch square, harden edge |
| Swage (top) | Half-round groove | Form round shapes | Forge from 1.5 inch square, grind groove |
| Creaser | V-groove | Create decorative lines | Forge from 1 inch square, grind V |
Reference Card
- The hammer is the first tool to forge (a blacksmith who can forge a hammer can forge anything; it requires punching, drifting, shaping, heat treating, and handle fitting, which are all the fundamental skills). 2. Punch the eye from both sides (punching from one side only creates a tapered, off-center eye; punching halfway from each side creates a centered, symmetrical eye). 3. The drift sizes the eye (the drift is a tapered mandrel that opens the punched hole to the exact size and shape needed for the handle; it also smooths the inside of the eye). 4. Hickory is the best handle wood (hickory absorbs shock, resists breaking, and is strong in the thin cross-section of a hammer handle; no other common wood matches it). 5. Harden only the face (the face of the hammer must be hard to resist deformation; the eye must be soft and tough to grip the handle without cracking). 6. A slight crown on the face (a perfectly flat hammer face leaves sharp-edged marks; a slight crown blends hammer marks and moves metal more efficiently). 7. Wedge the handle tight (a wooden wedge in the kerf expands the handle in the eye; a metal cross-wedge locks it permanently; a loose hammer head is extremely dangerous). 8. The smith makes the tools that make everything else (a blacksmith's first project should be making the tools needed for all future projects; the hammer, tongs, and punches are the foundation).