Sovereignty Module: Turn the Key
Complete Lock and Key Making: From Bar to Security
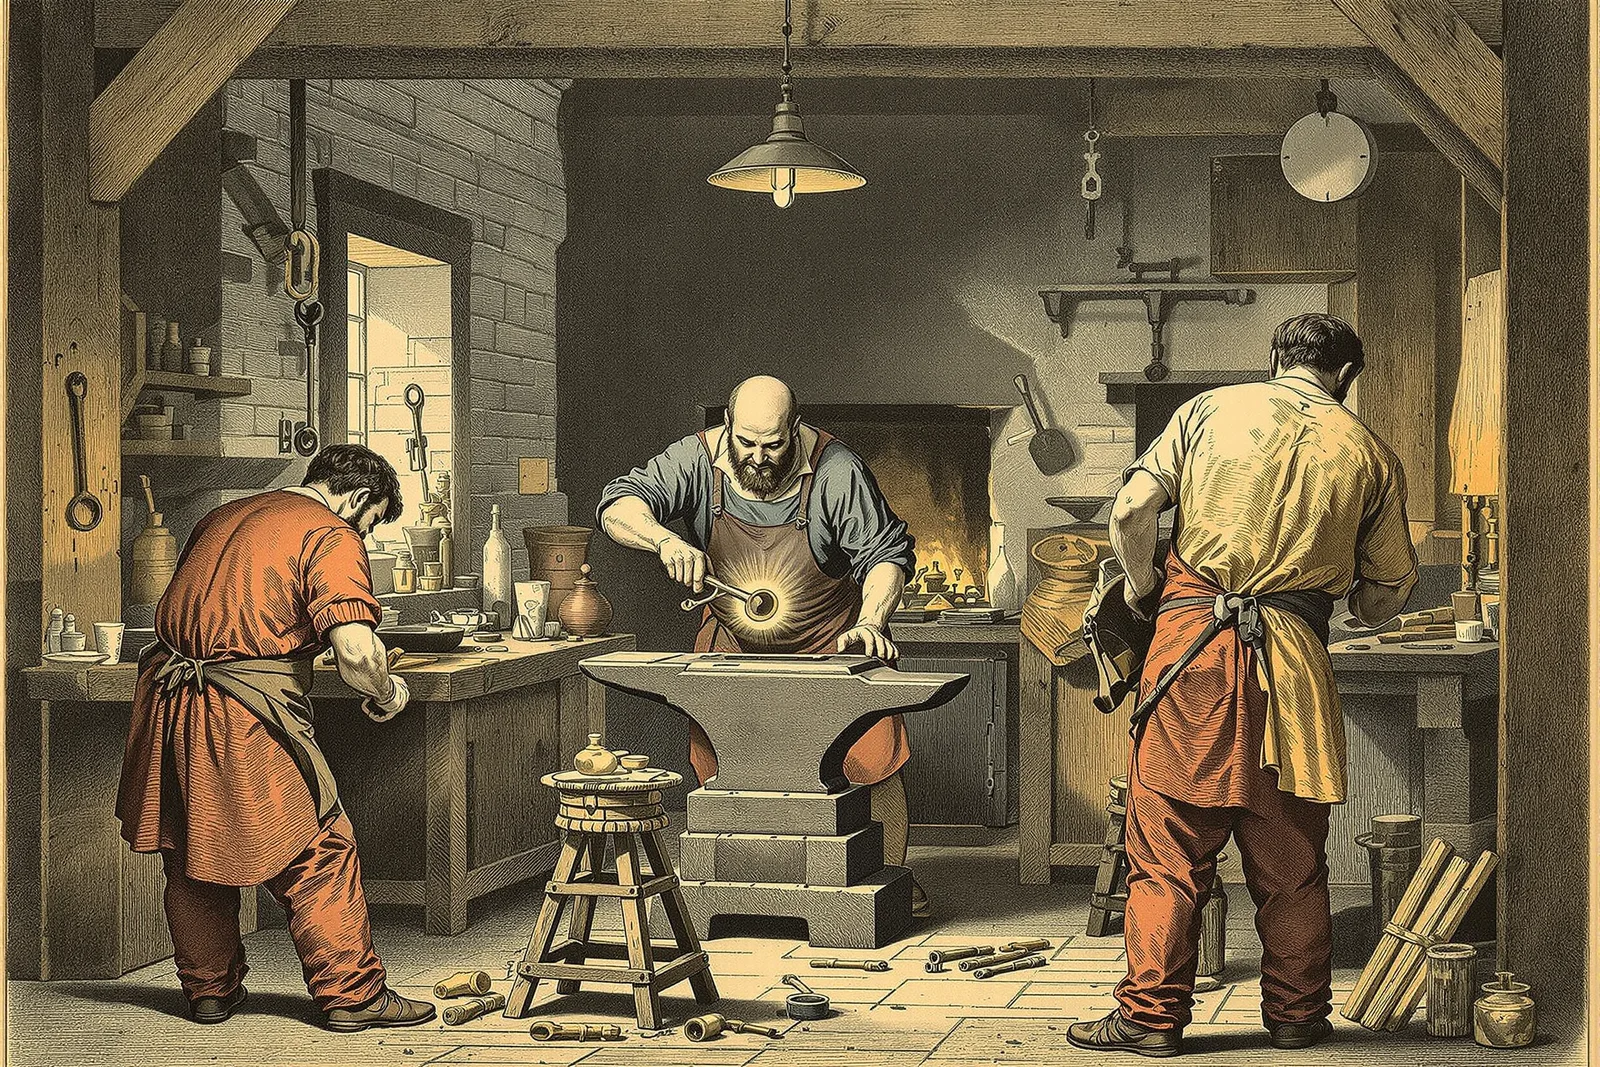
Locks and keys are among the most sophisticated products of the blacksmith's art. This campaign covers lock types, mechanism design, key forging, and installation.
Chapter 1: Lock Types
| Type | Mechanism | Security | Difficulty | Historical Period |
|---|---|---|---|---|
| Warded lock | Fixed obstructions (wards) | Low | Moderate | Roman, Medieval |
| Lever lock | Spring-loaded levers | Moderate-high | High | 1700s+ |
| Pin tumbler | Spring-loaded pins | High | Very high | Egyptian, modern |
| Padlock (warded) | Warded mechanism in portable case | Low-moderate | Moderate | Medieval+ |
| Rim lock | Surface-mounted, lever or warded | Moderate | Moderate-high | 1700s+ |
| Latch (thumb) | Lifting bar | None (privacy only) | Low | All periods |
Chapter 2: Warded Lock Construction
Warded lock mechanism: 1) The lock case is a metal box containing the mechanism. 2) Wards are fixed metal plates or projections inside the case. 3) The key must have slots (bitting) that match the wards. 4) When the correct key is inserted, the slots clear the wards. 5) The key rotates and moves the bolt (locking bar). 6) An incorrect key hits the wards and cannot rotate.
| Component | Material | Purpose | Specification |
|---|---|---|---|
| Lock case | 1/8 inch plate (mild steel) | Enclose mechanism | Box shape, riveted or welded |
| Bolt | 1/4 x 1/2 inch bar | Locking bar | Slides in/out of strike plate |
| Wards | 1/16-1/8 inch plate | Obstruct wrong keys | Shaped to match key bitting |
| Key post | 1/4-3/8 inch round | Key rotates around this | Fixed in case center |
| Spring | Spring steel strip | Returns bolt or holds position | Leaf spring, riveted to case |
| Cover plate | 1/16-1/8 inch plate | Enclose mechanism | Screwed or riveted to case |
| Strike plate | 1/8 inch plate | Receives bolt in door frame | Mortised into frame |
Construction: 1) Forge lock case from plate (bend and rivet box shape). 2) Install key post in center of case. 3) Forge and install wards (shaped plates around key post). 4) Forge bolt (sliding bar with notch for key). 5) Install bolt with guide (slides straight). 6) Install spring (holds bolt in locked or unlocked position). 7) Forge key to match wards. 8) Test: key should rotate freely and move bolt. 9) Install cover plate. 10) Mount lock to door.
Chapter 3: Key Forging
Warded key forging: 1) Start with 1/4-3/8 inch round bar, 3-5 inches long. 2) Forge bow (handle end): flatten and curl into loop or decorative shape. 3) Forge shank: maintain round, uniform diameter. 4) Forge bit (working end): flatten to 1/8 inch thick. 5) Cut wards (slots) in bit to match lock wards. 6) File bit to final shape. 7) Key bit must clear all wards when rotated. 8) Key bit must engage bolt notch to move bolt.
| Key Part | Purpose | Forging Method |
|---|---|---|
| Bow (handle) | Grip for turning | Flatten, curl, or decorative scroll |
| Shank (shaft) | Connects bow to bit | Maintain round, uniform |
| Bit (working end) | Engages mechanism | Flatten, cut ward slots, file |
| Pin (center hole) | Fits over key post | Drill or punch center hole |
Chapter 4: Lever Lock (Advanced)
Lever lock mechanism: 1) Multiple levers (2-5) must be lifted to correct height. 2) Each lever has a different height notch (gate). 3) The key has steps (bitting) of different heights. 4) When the correct key is turned, each step lifts its lever to the correct height. 5) All gates align, allowing the bolt to pass through. 6) More levers = more security (more possible combinations).
| Levers | Possible Combinations | Security Level | Difficulty |
|---|---|---|---|
| 2 | ~20 | Low | Moderate |
| 3 | ~100 | Moderate | High |
| 4 | ~500 | Good | Very high |
| 5 | ~2,500 | High | Very high |
Chapter 5: Installation
| Lock Type | Mounting | Door Preparation | Tools Needed |
|---|---|---|---|
| Rim lock (surface) | Screwed to door surface | Drill keyhole only | Drill, screwdriver |
| Mortise lock | Set into door edge | Cut mortise pocket in door edge | Chisel, drill |
| Padlock | Hasp and staple on door | Mount hasp hardware | Drill, screwdriver |
| Thumb latch | Surface mounted | Drill for thumb piece | Drill |
Reference Card
- Wards are fixed obstructions (wards are metal plates inside the lock that block incorrect keys; the correct key has matching slots that clear the wards and allow rotation). 2. The key must match the lock exactly (every slot in the key bit must align with every ward in the lock; a single mismatch prevents the key from turning). 3. More wards means more security (adding wards increases the number of possible key patterns; however, warded locks can be defeated by skeleton keys that have most material removed). 4. The spring holds the bolt (a spring inside the lock holds the bolt in either the locked or unlocked position; without the spring, the bolt slides freely and provides no security). 5. Lever locks are more secure than warded locks (lever locks require multiple levers to be lifted to precise heights; this creates many more possible combinations than wards alone). 6. The strike plate must be strong (the strike plate in the door frame receives the bolt; if the strike plate is weak or poorly mounted, the lock can be forced regardless of the mechanism quality). 7. A decorative bow identifies the key (the bow of a key can be forged into decorative shapes that identify which lock it fits; this is both functional and artistic). 8. Lock making is the pinnacle of blacksmithing (a working lock requires precision forging, filing, spring making, and mechanism design; it combines nearly every blacksmithing skill into a single project).